
How to use Angular environment files in your Azure DevOps multi-stage yml release pipeline
Summary
Angular has the concept of environment files that can be used to configure environment specific values. There are multiple ways to handle environments in your Angular web application.
- Create an environment specific
.tsfile and rebuild the complete application per environment. (e.g.environment.ts,environment.tst.ts,environment.stg.ts,environment.prd.ts). This works, but has the drawback that we need to rebuild the complete application when we go from staging to production. I don’t think we want that. -
Put your environment settings in a config.json file in your assets directory and request this file at runtime via the HttpClient during the start up. You could use the APP_INITIALIZER to make sure the environment settings are available before your application code is executed.
There are already enough articles about this approach. But it introduces extra code and start up dependencies because we’ve to wait for the config.json file to load over http. Of course this is negligible if we compare it to all the other files, but still it’s another request the browser has to make.
- Or….just use the default environment files and make use of replacement tokens!
I’ll show you how to do this in a Azure DevOps multi-stage yml pipeline. So besides a way to handle environments in your Angular app, you’ll also learn something about Azure DevOps multi-stage yml release pipelines!
Start with an Angular app
The first thing we need is a minimal Angular app. So let’s start with that:
1
ng new azure-angular-release-demo --minimal --routing=false
In your project you will find the default generated environment.ts and environment.prod.ts files. Don’t loose them, we’ll need them shortly 😉
Push this repo to your Github or Azure DevOps account so you can use it in Azure DevOps.
Create Azure DevOps project
I assume that you’re already in the ecosystem of Microsoft and you’ve got a Organization where you can create a new project. Otherwise consult the docs.
Create initial pipeline
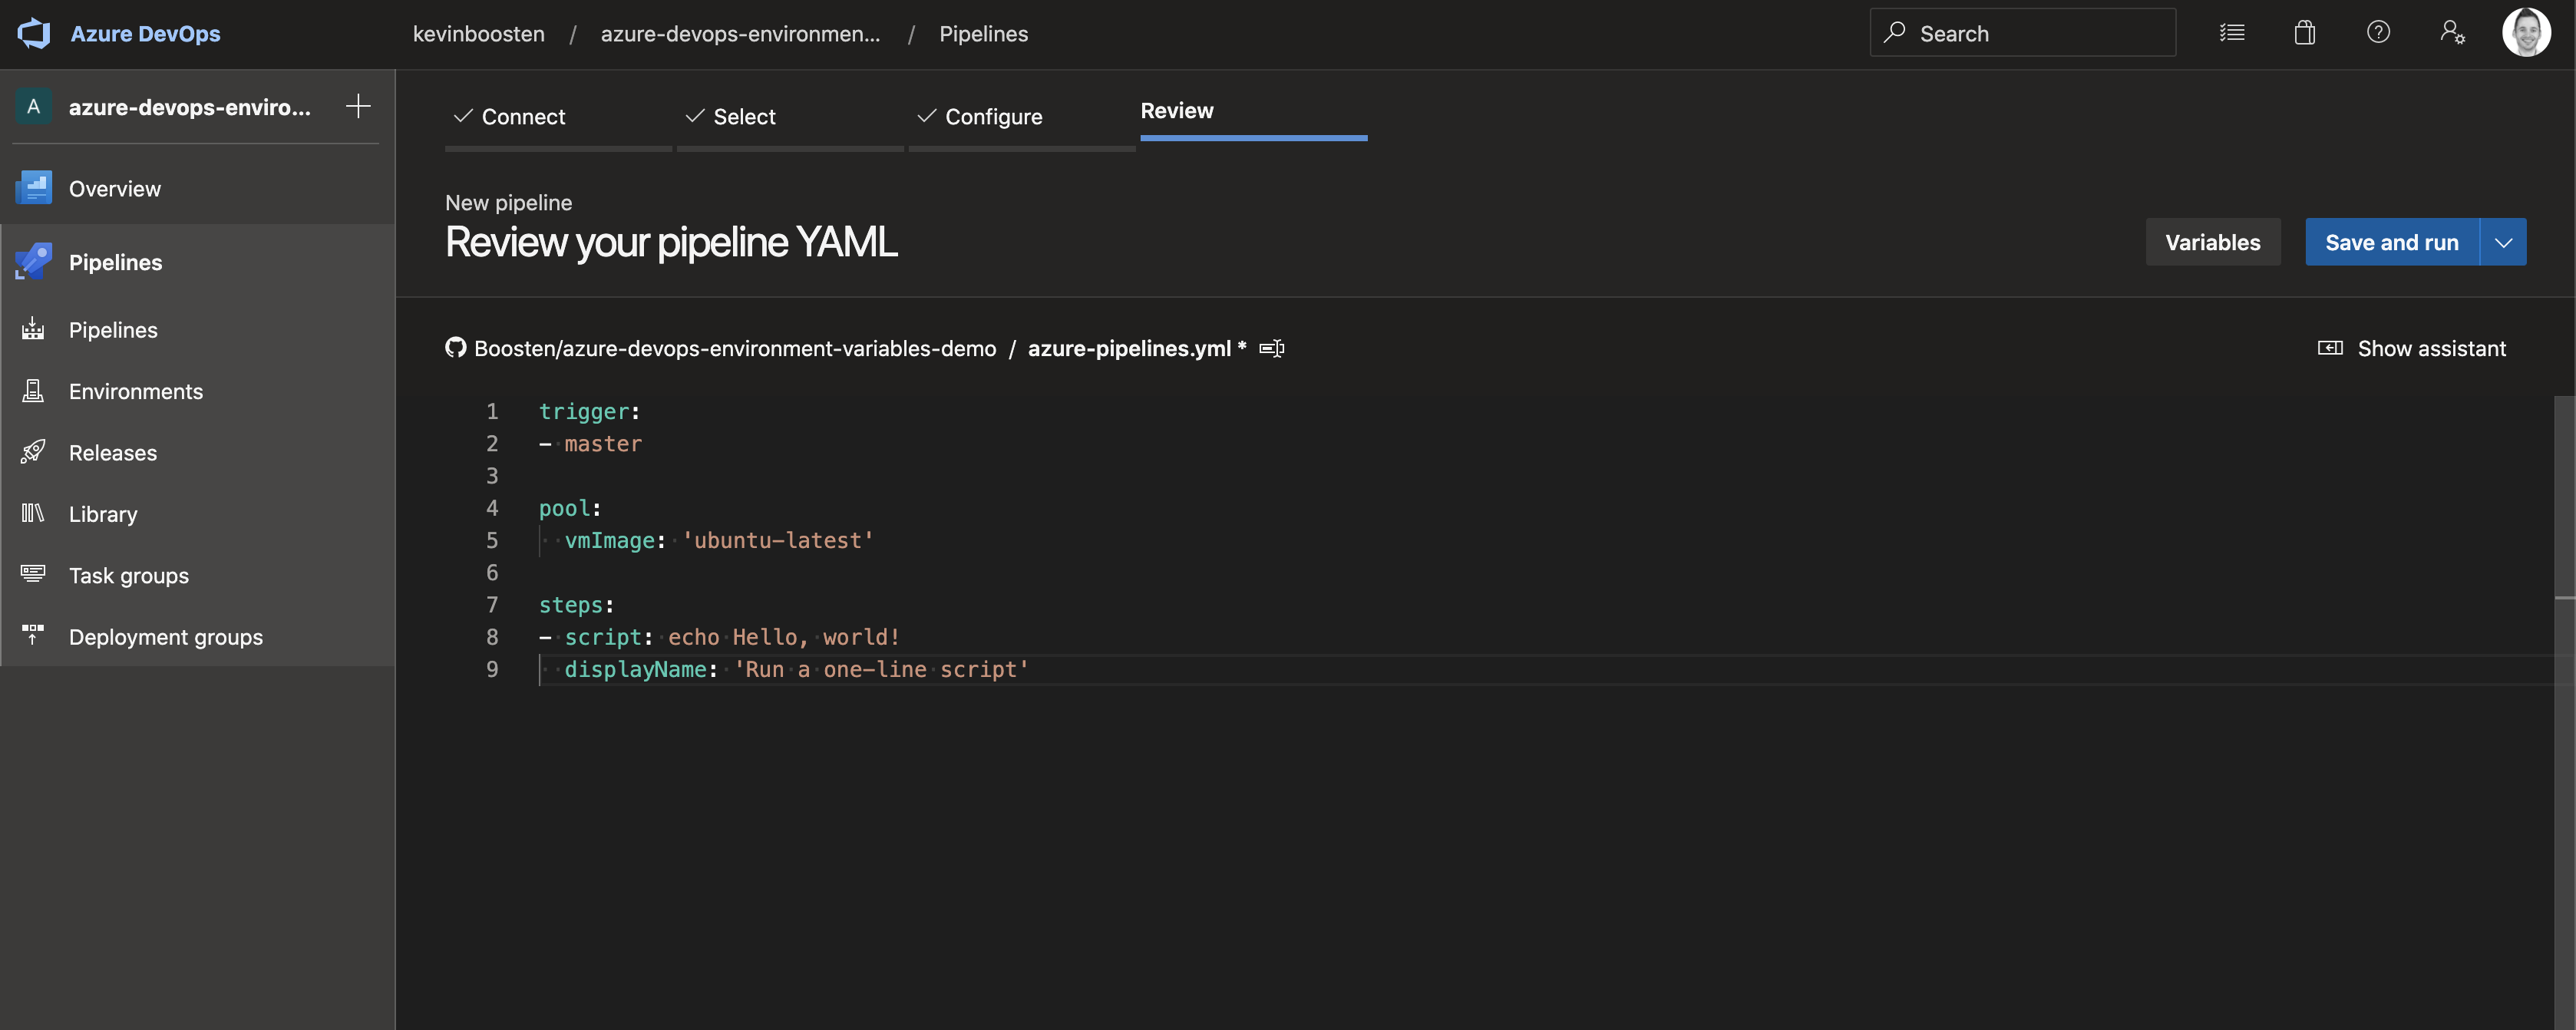
Now that we have an Angular app and our project set up, we can configure our pipeline. You can do this via the portal or simply create a file azure-pipelines.yml in the root of your repository and add the following content to it:
1
2
3
4
5
6
7
8
9
trigger:
  - master

pool:
  vmImage: 'ubuntu-latest'

steps:
  - script: echo Hello, world!
    displayName: 'Run a one-line script'
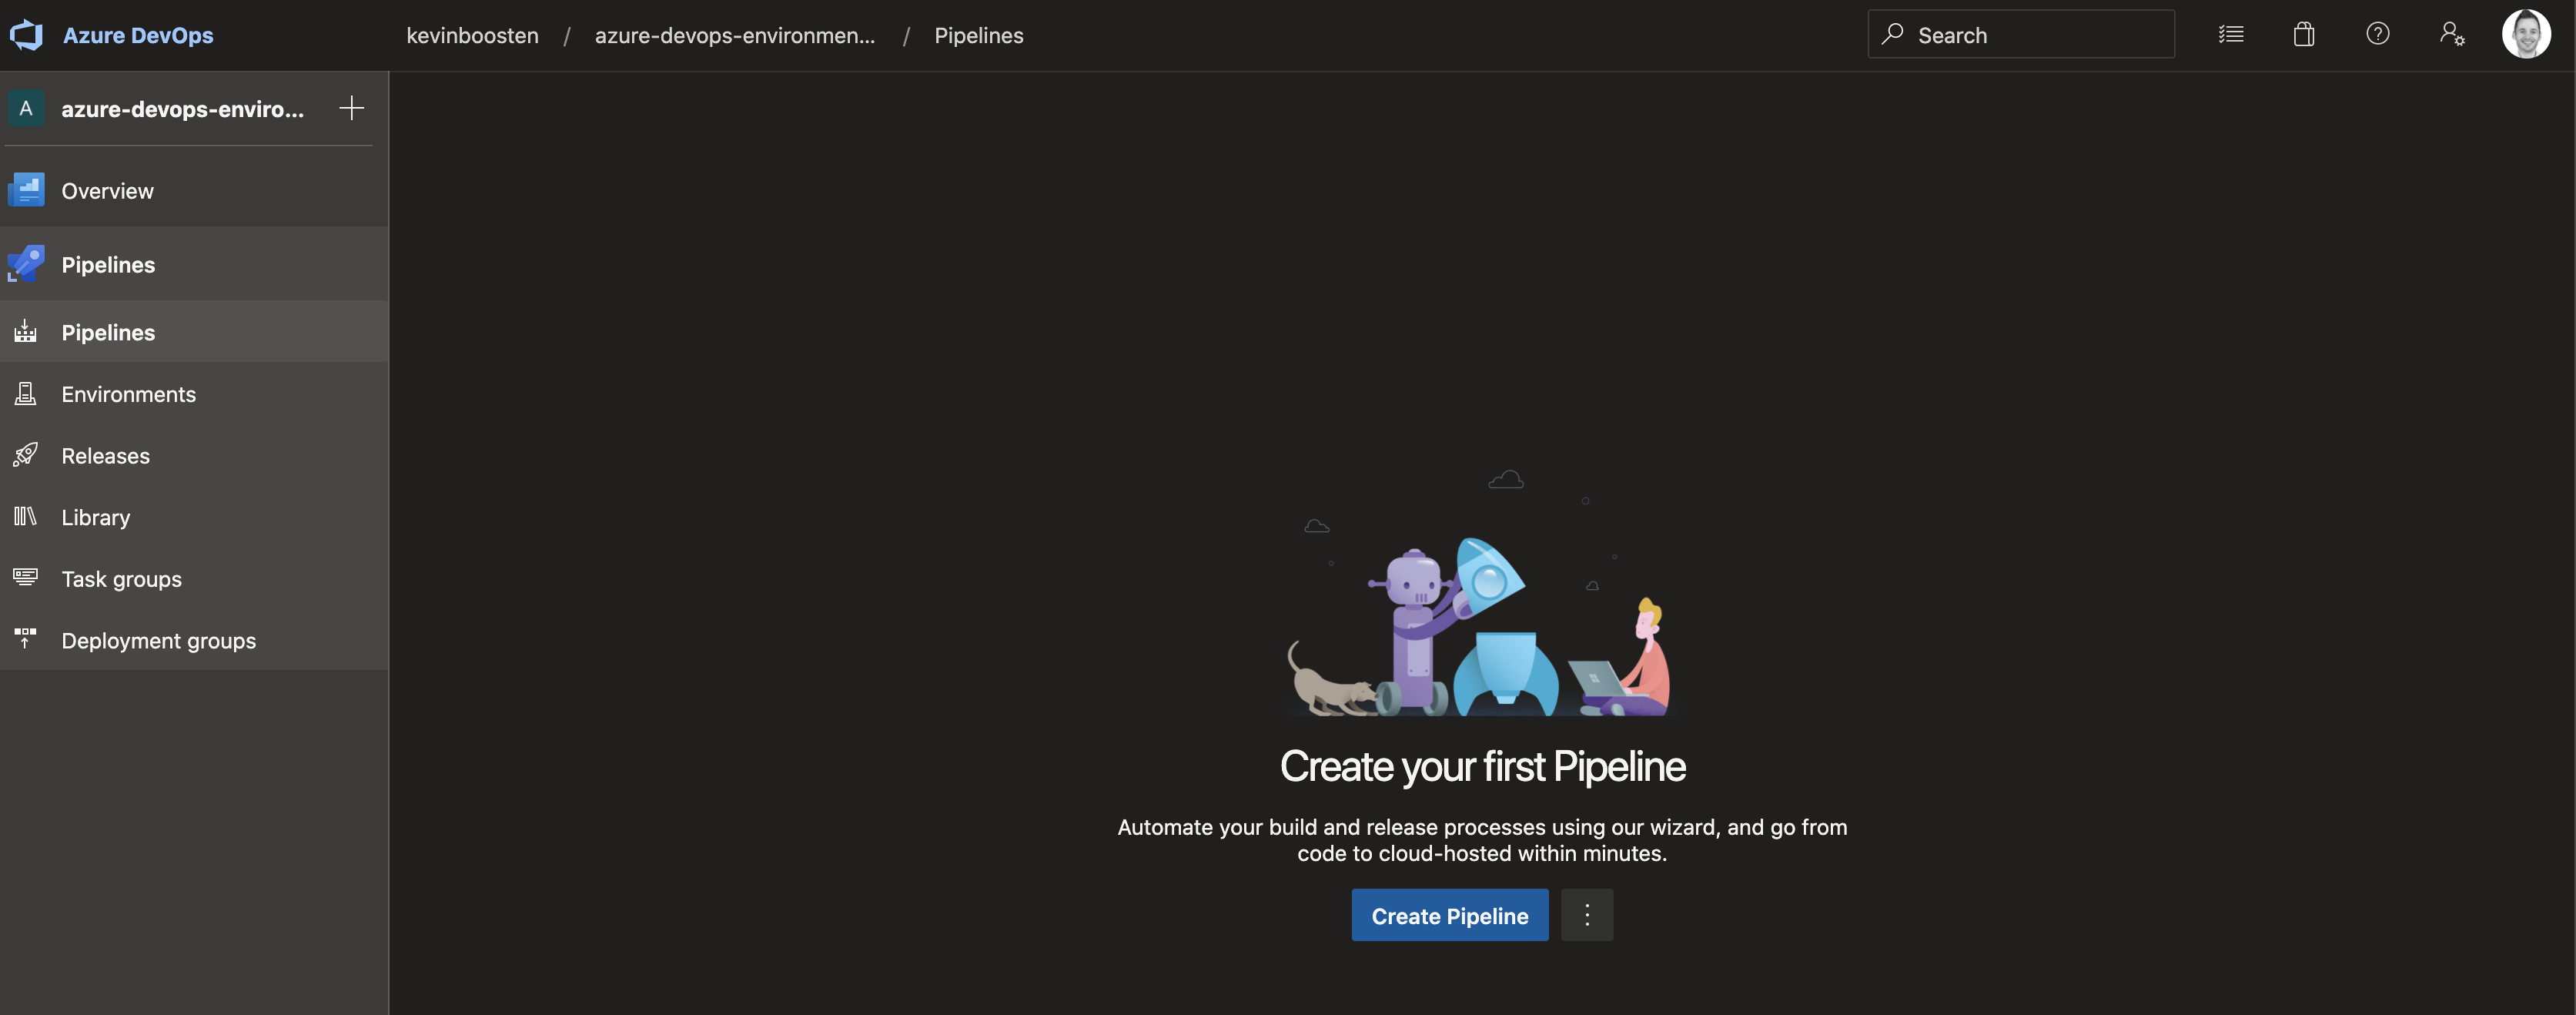
For this demo I’m starting from the portal:
-
In your DevOps project navigate to Pipelines and select Create Pipeline
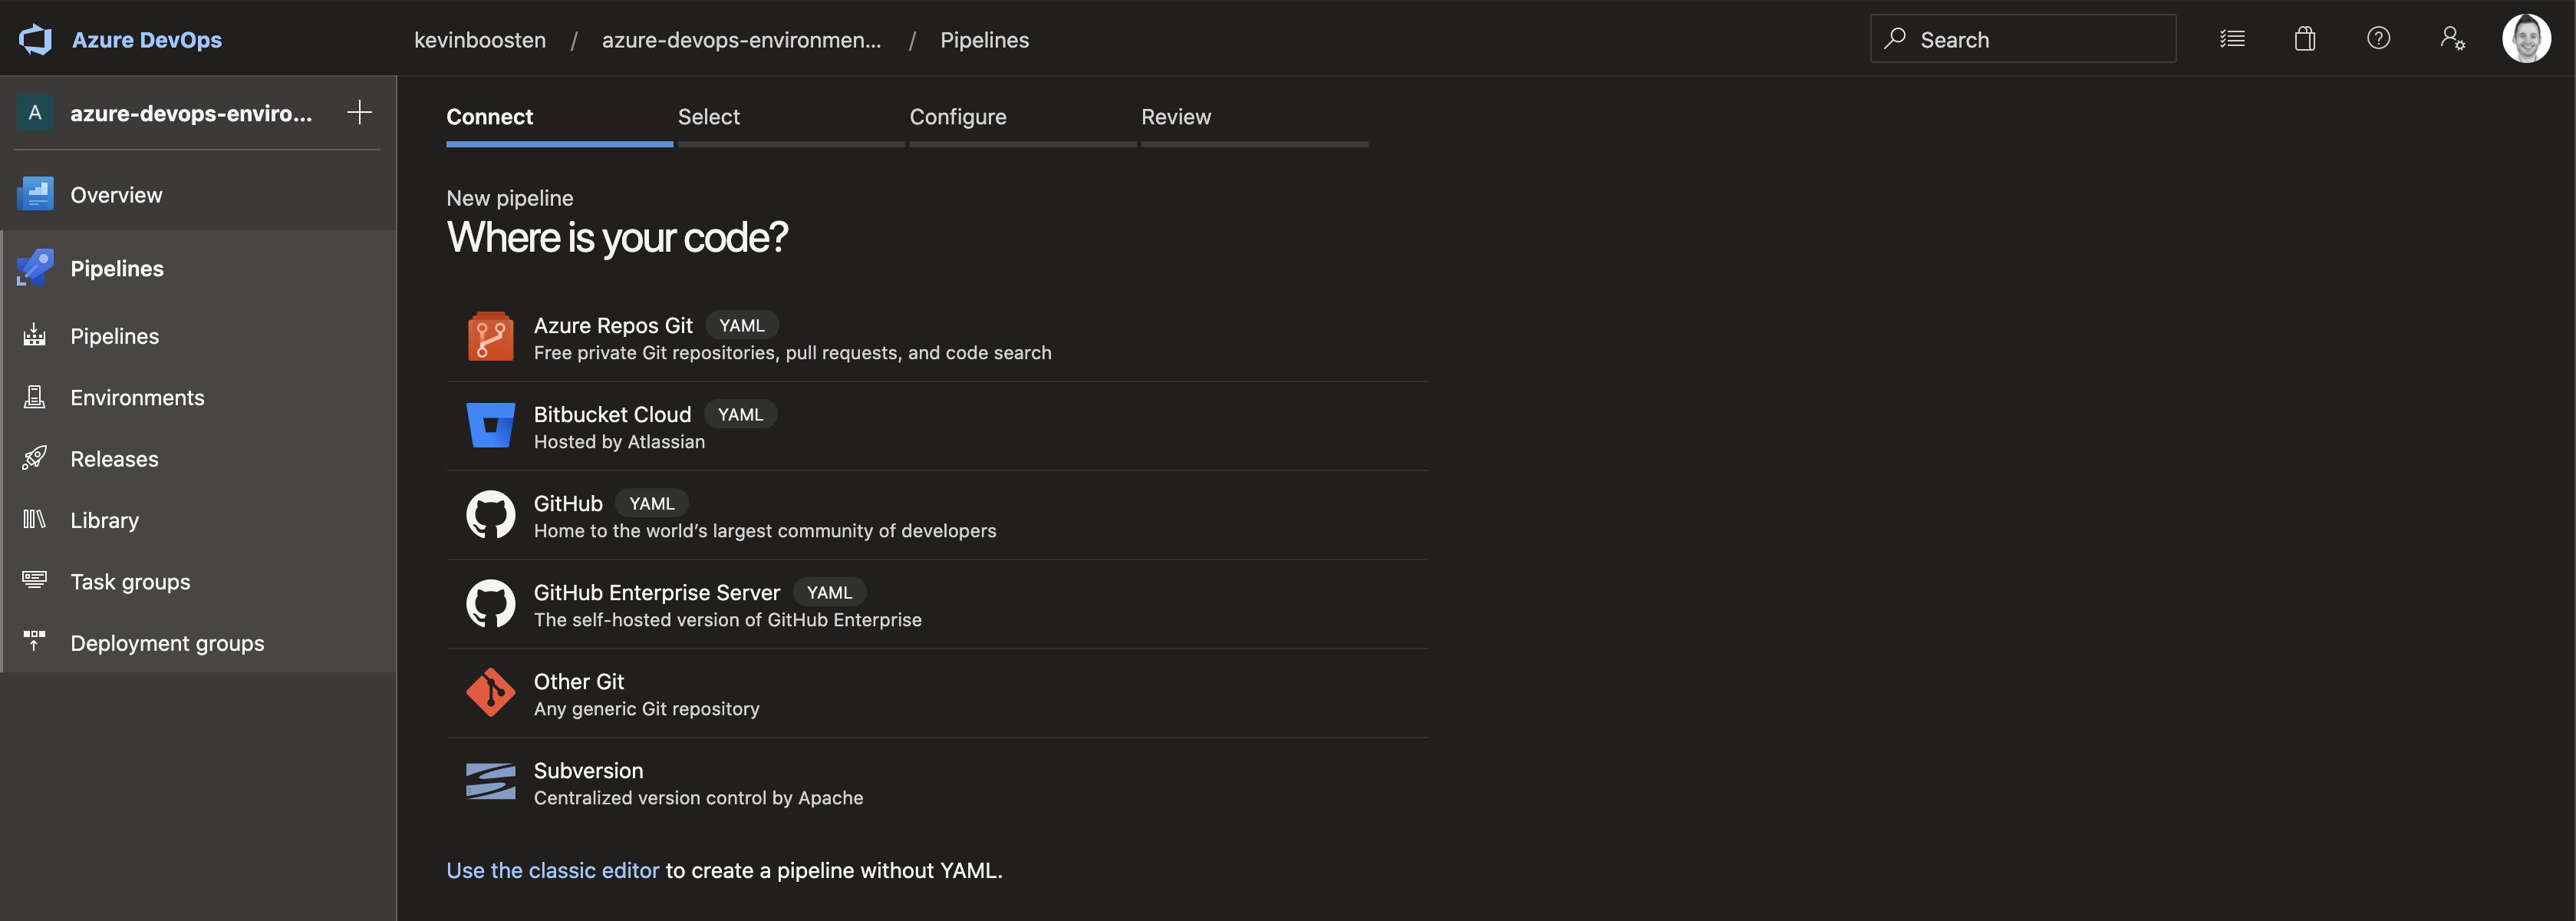
-
Choose the location where you code is. In this demo I used GitHub.
-
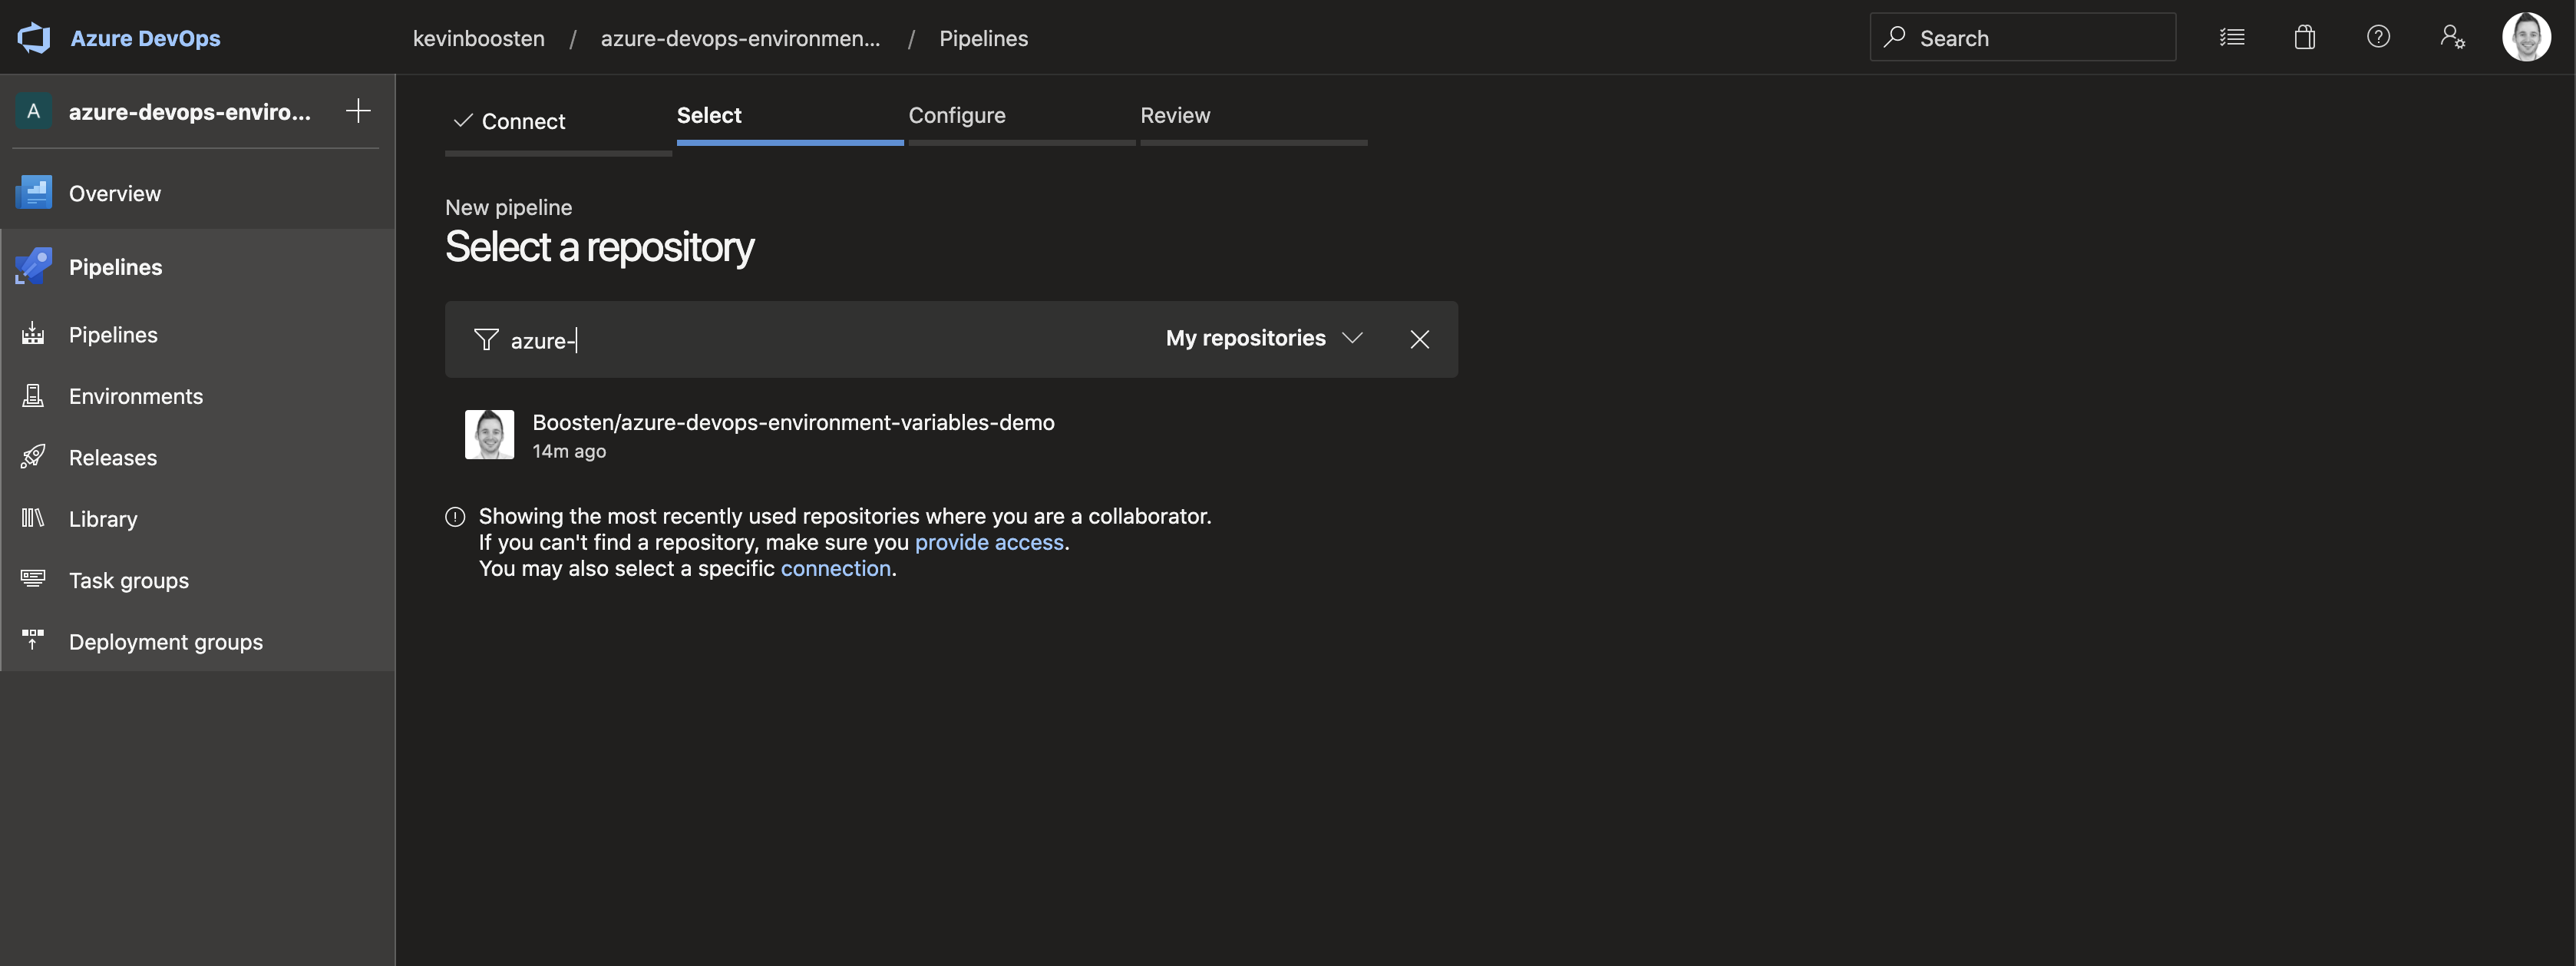
Select your repository
-
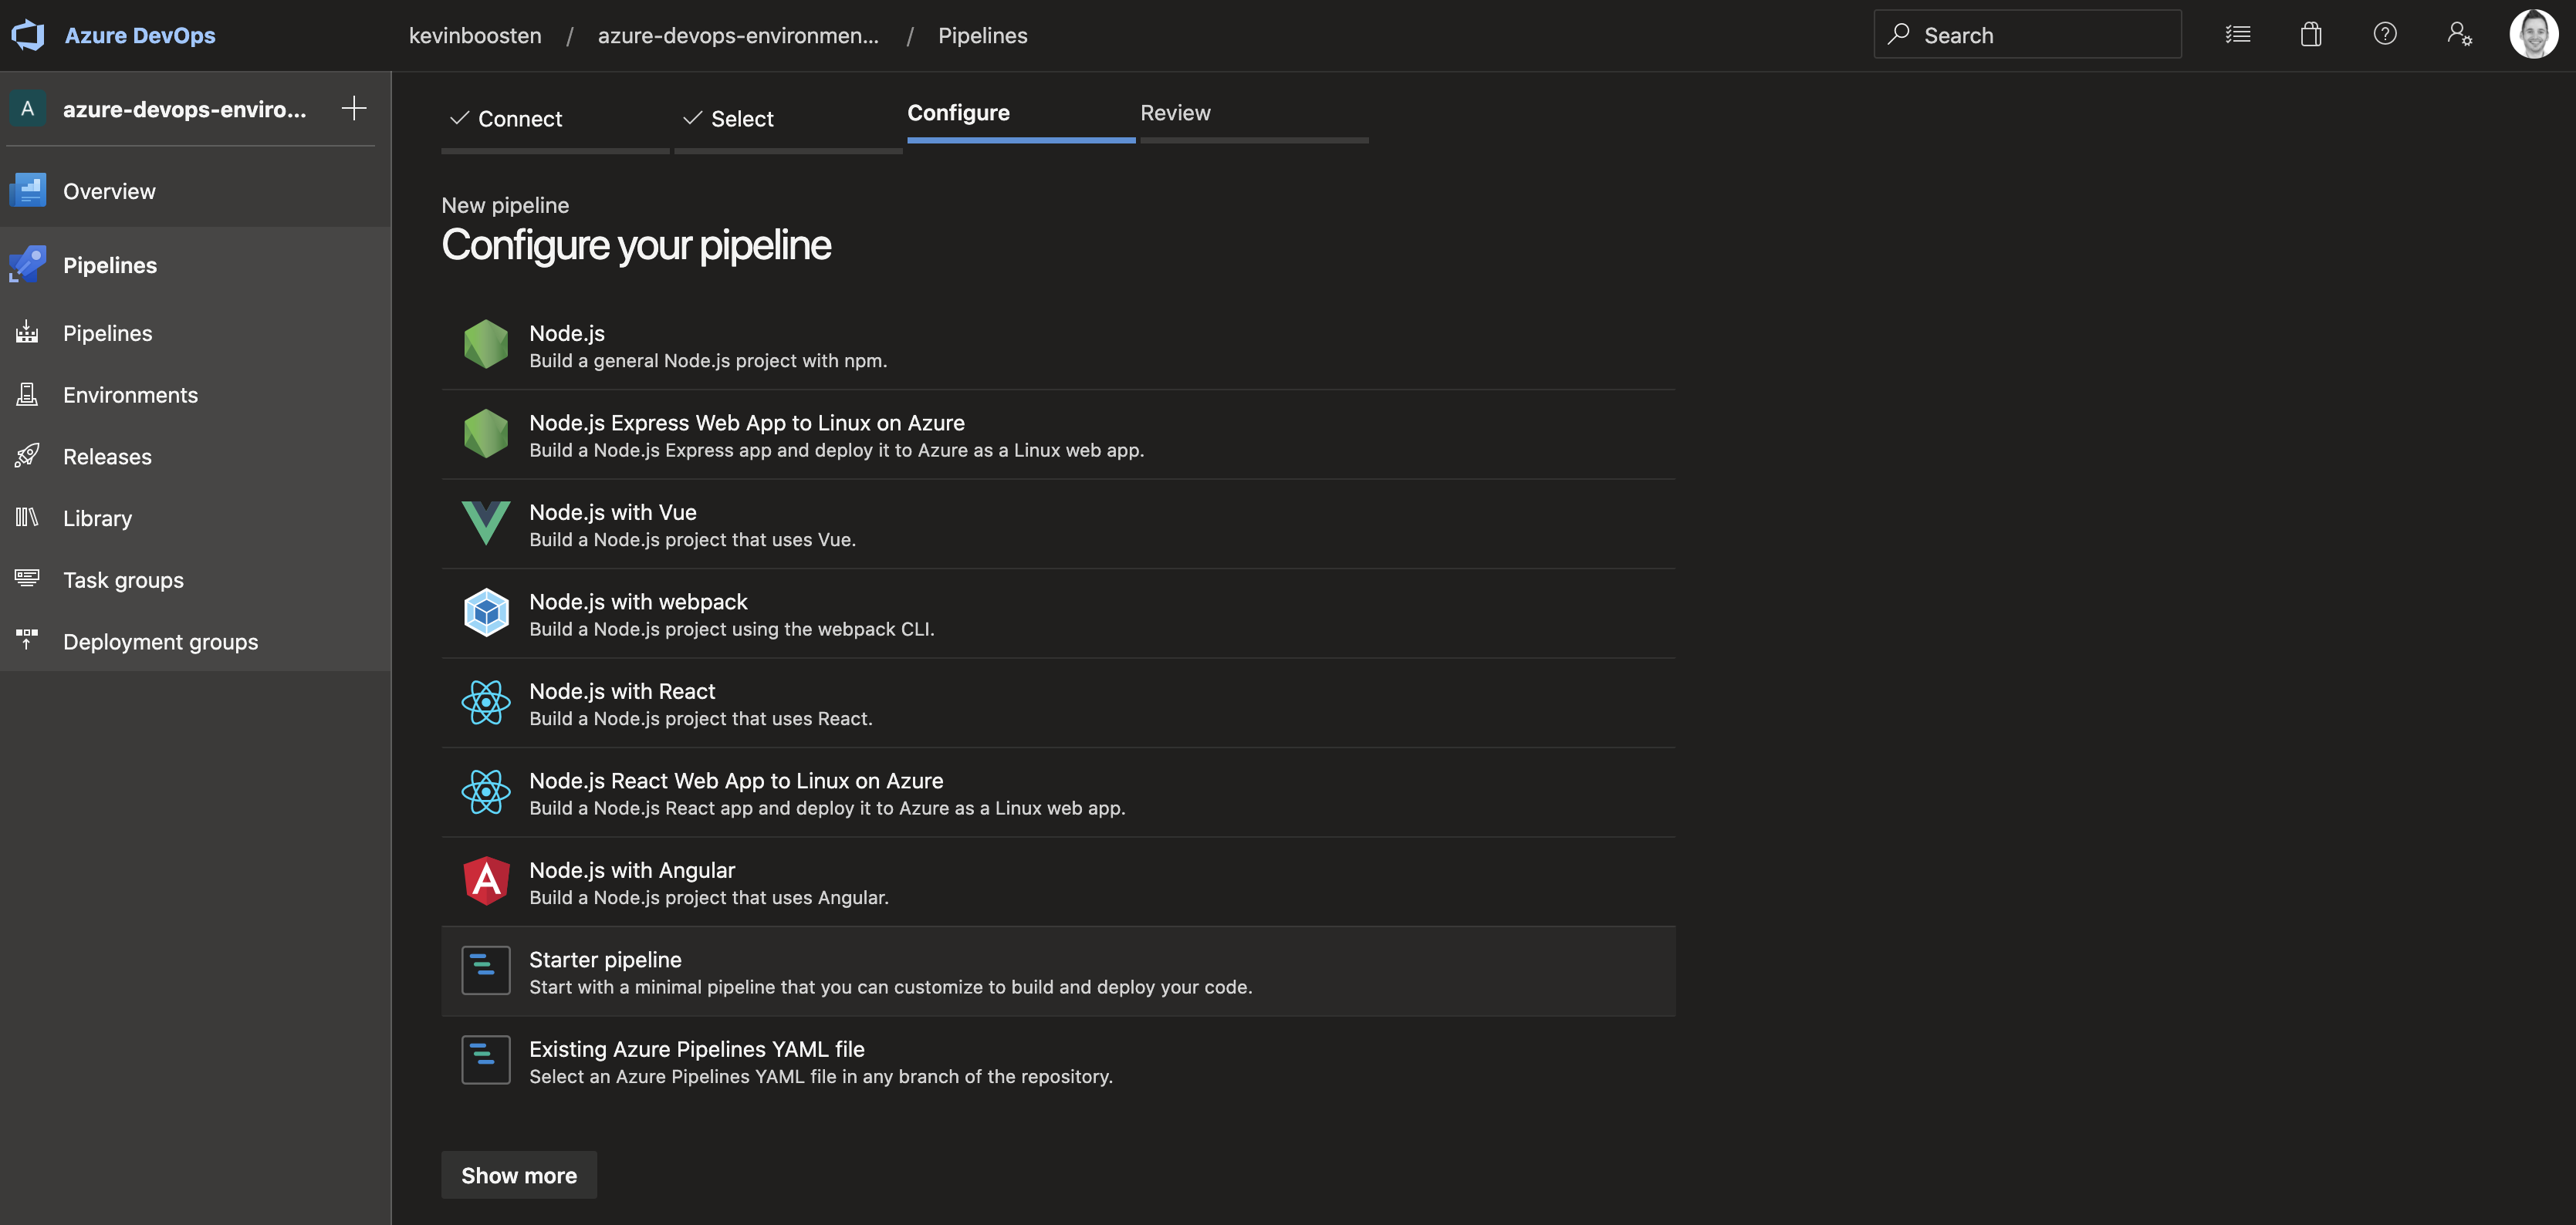
Choose the Starter pipeline
-
Eventually we want this in our pipeline to start with
-
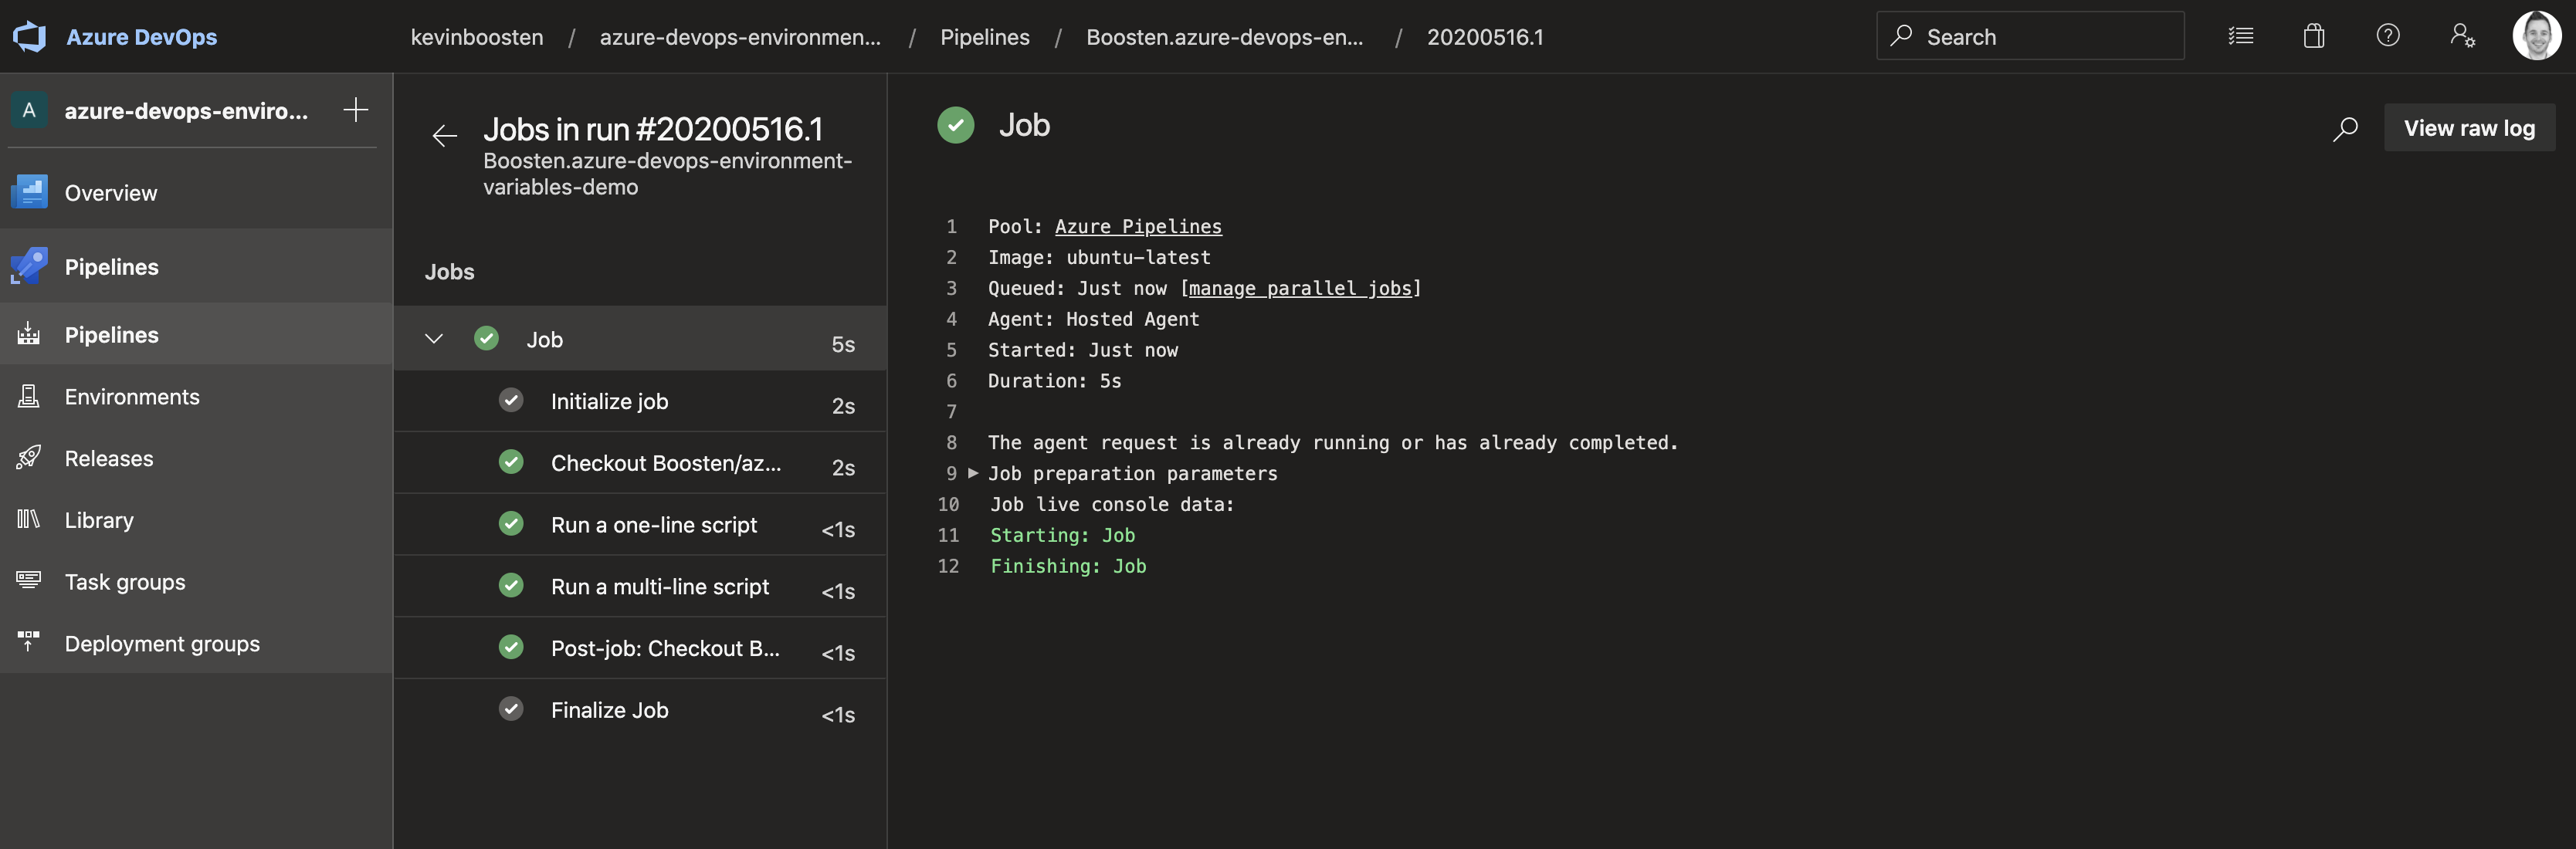
Save and run your pipeline to see if it works
Change to multi-stage pipeline
Multi-stage pipelines are the new way to configure your release via code. We were already using the azure-pipeline.yml file to define our build steps, but now we can also use it to deploy our application to several environments. The ‘classic’ way to do this in Azure DevOps is by configuring a release via the portal. This configuration will not be saved to your repository.
Multi-stage pipelines are still in preview, so it’s possible that you have to toggle the preview feature. But at the time of writing I do not see the feature toggle anymore, so maybe it’s not in preview anymore 🎉.
Check their website for more information about multi-stage pipelines.
We are now going to change our starter pipeline to a multi-stage pipeline with three stages. Copy this code to your azure-pipelines.yml file:
1
2
3
4
5
6
7
8
9
10
11
12
13
14
15
16
17
18
19
20
21
22
23
24
25
26
trigger:
  - master

pool:
  vmImage: 'ubuntu-latest'

stages:
  - stage: build
    jobs:
      - job:
        steps:
          - script: echo Hello, world!

  - stage: deploy_dev
    displayName: Deploy to development
    jobs:
      - job:
        steps:
          - script: echo Hello, world!

  - stage: deploy_prod
    displayName: Deploy to production
    jobs:
      - job:
        steps:
          - script: echo Hello, world!
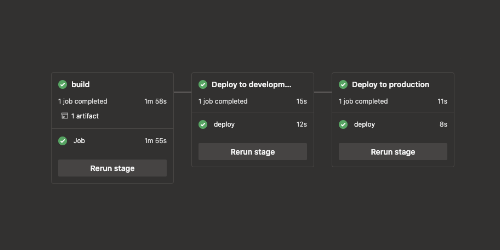
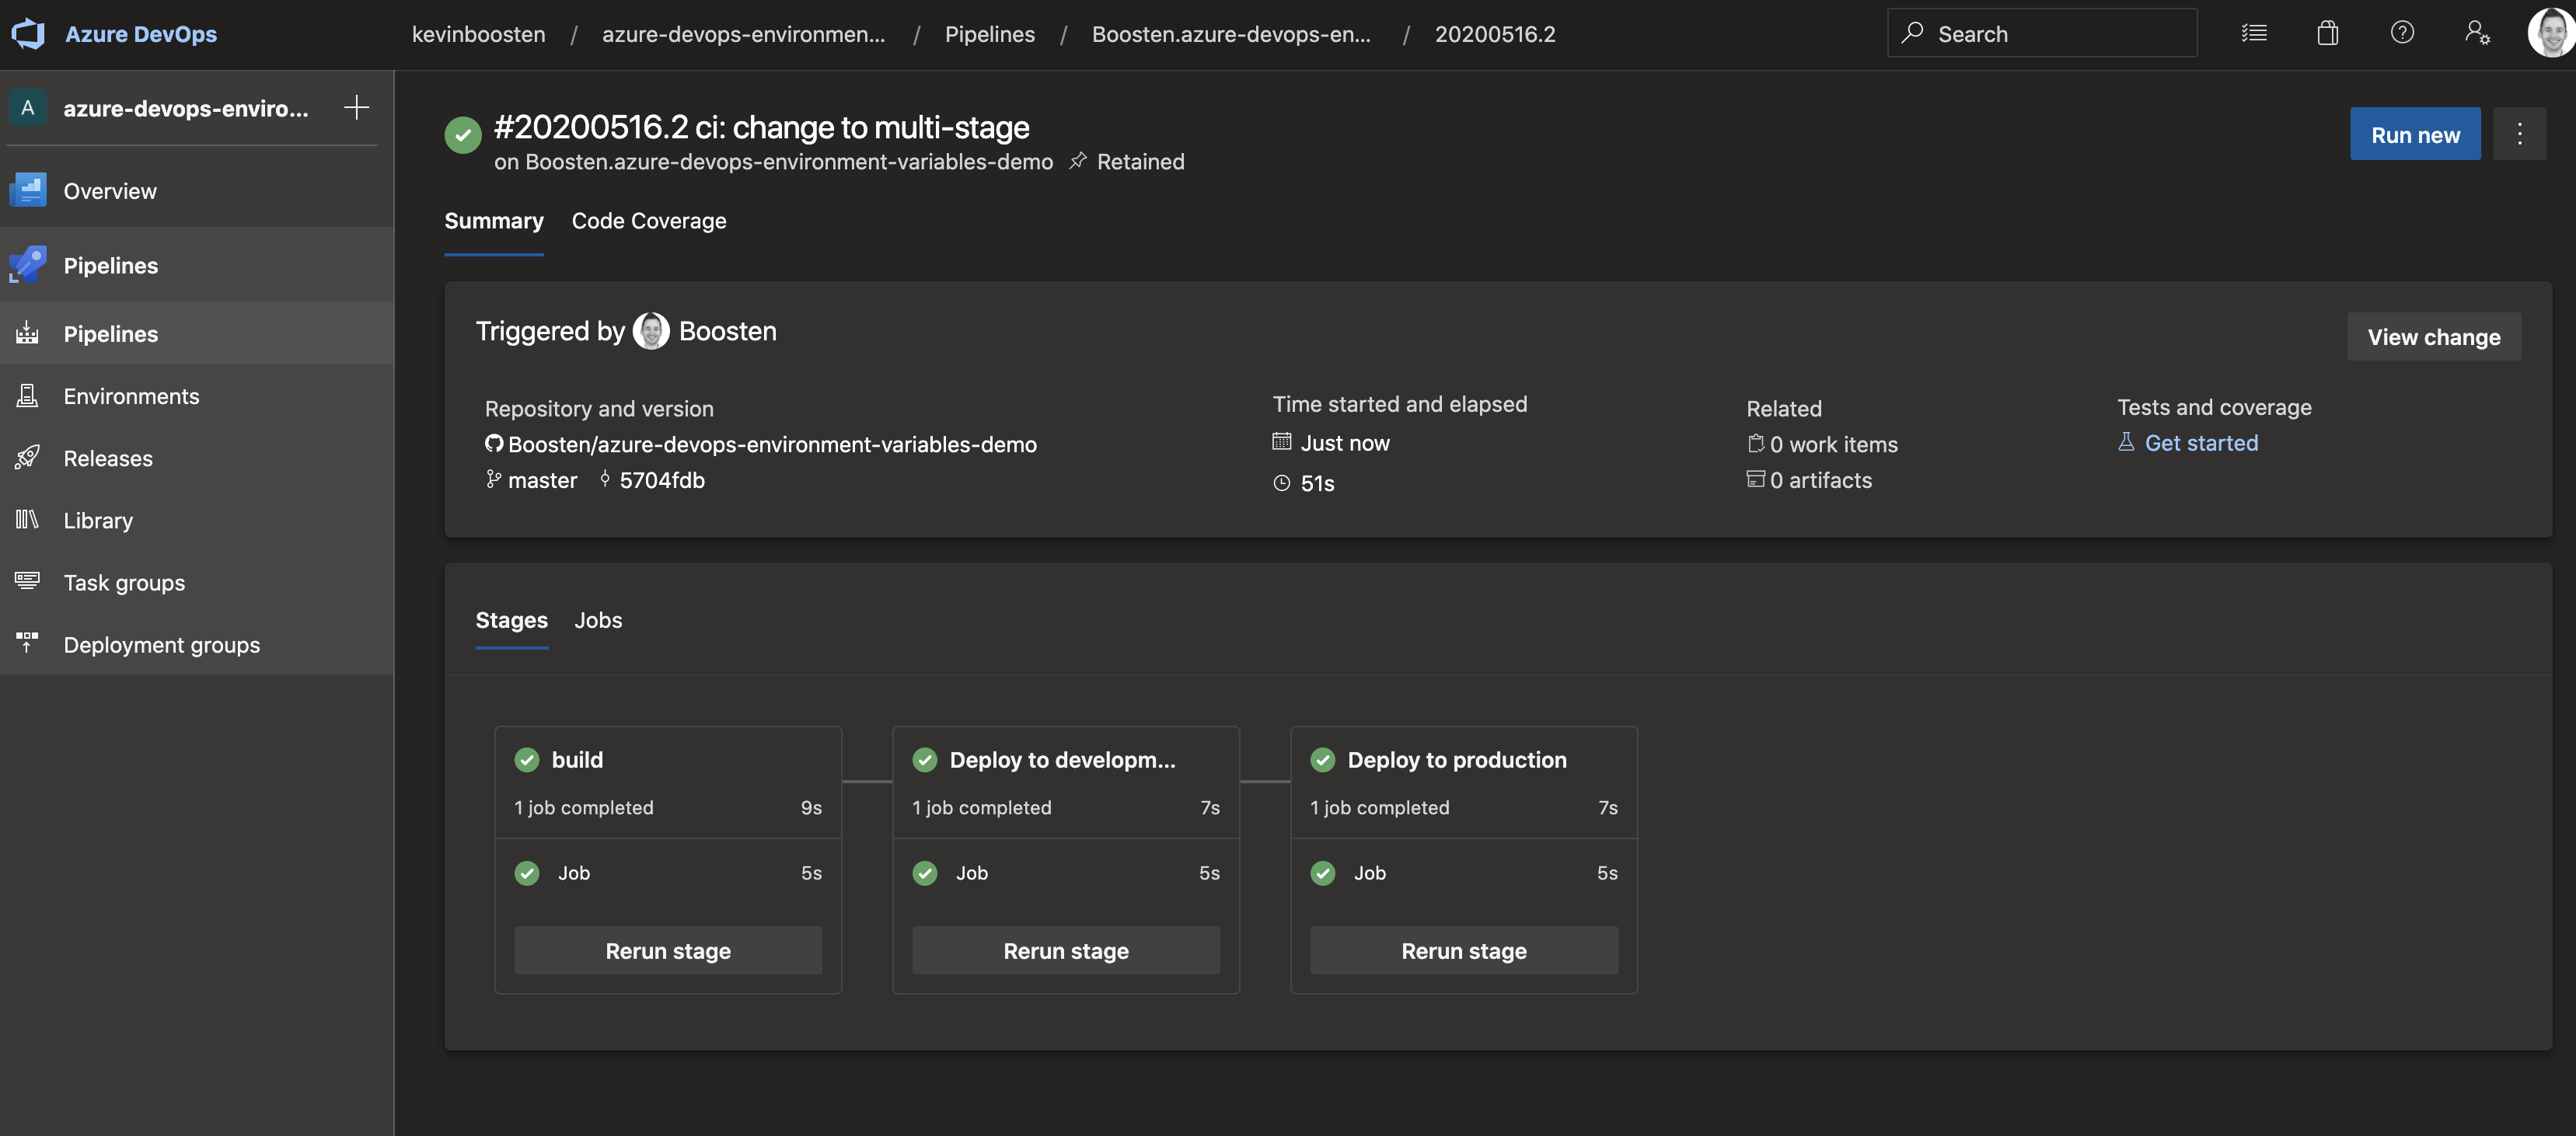
After committing your changes a new build will start, first thing you will notice are the extra green circles. These are our stages. We now own three stages, all managed by our yml file.
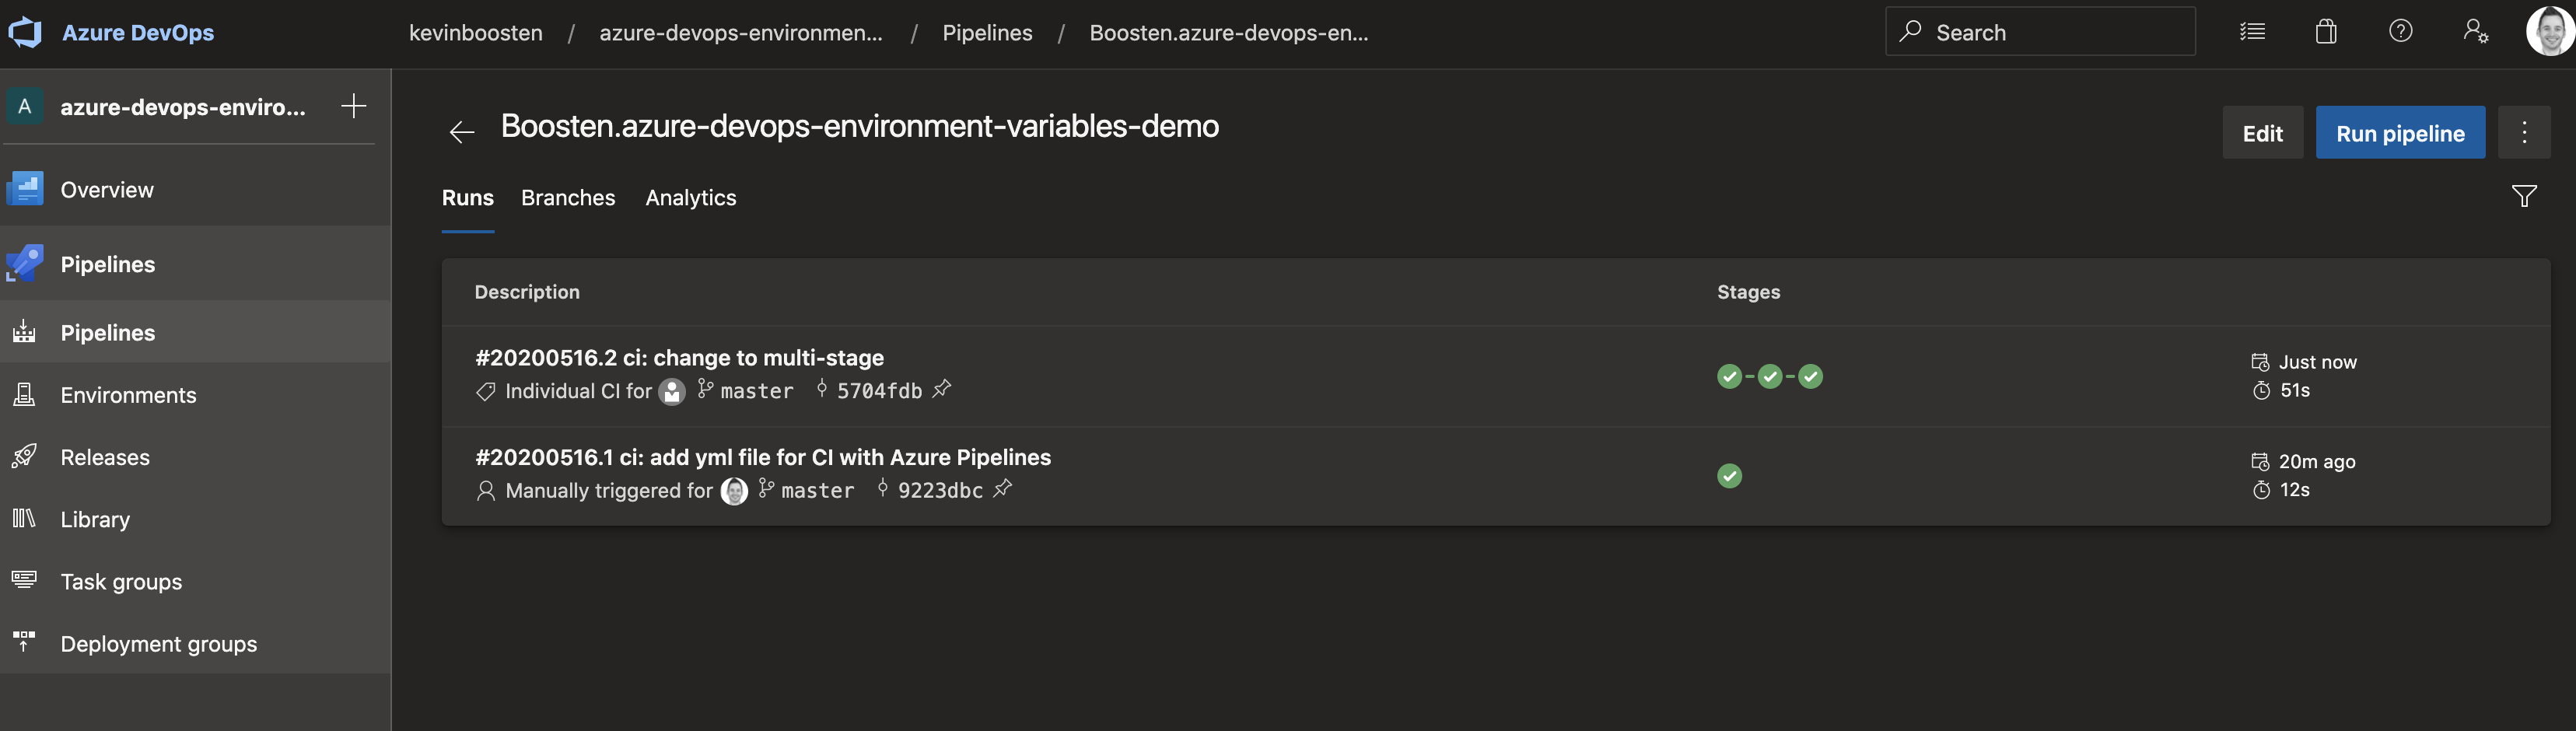
On the detail page of your run you can see some more information to see what is happening per stage. You can even rerun stages if they failed or you want to rerun them with different environment variables.
Configure build stage
We still don’t have anything to deploy other than some echo scripts. It’s building time 👷🏻♂!
Add the necessary steps to our yml file to build the Angular app. We will install NodeJS, install our project’s npm dependencies and eventually build and publish an optimized production version.
Change the build stage of our pipeline:
1
2
3
4
5
6
7
8
9
10
11
12
stages:
  - stage: build
    jobs:
      - job:
        steps:
          - task: NodeTool@0
            inputs:
              versionSpec: '10.x'
          - script: npm install
          - script: npm run build -- --prod
          - publish: dist
            artifact: dist
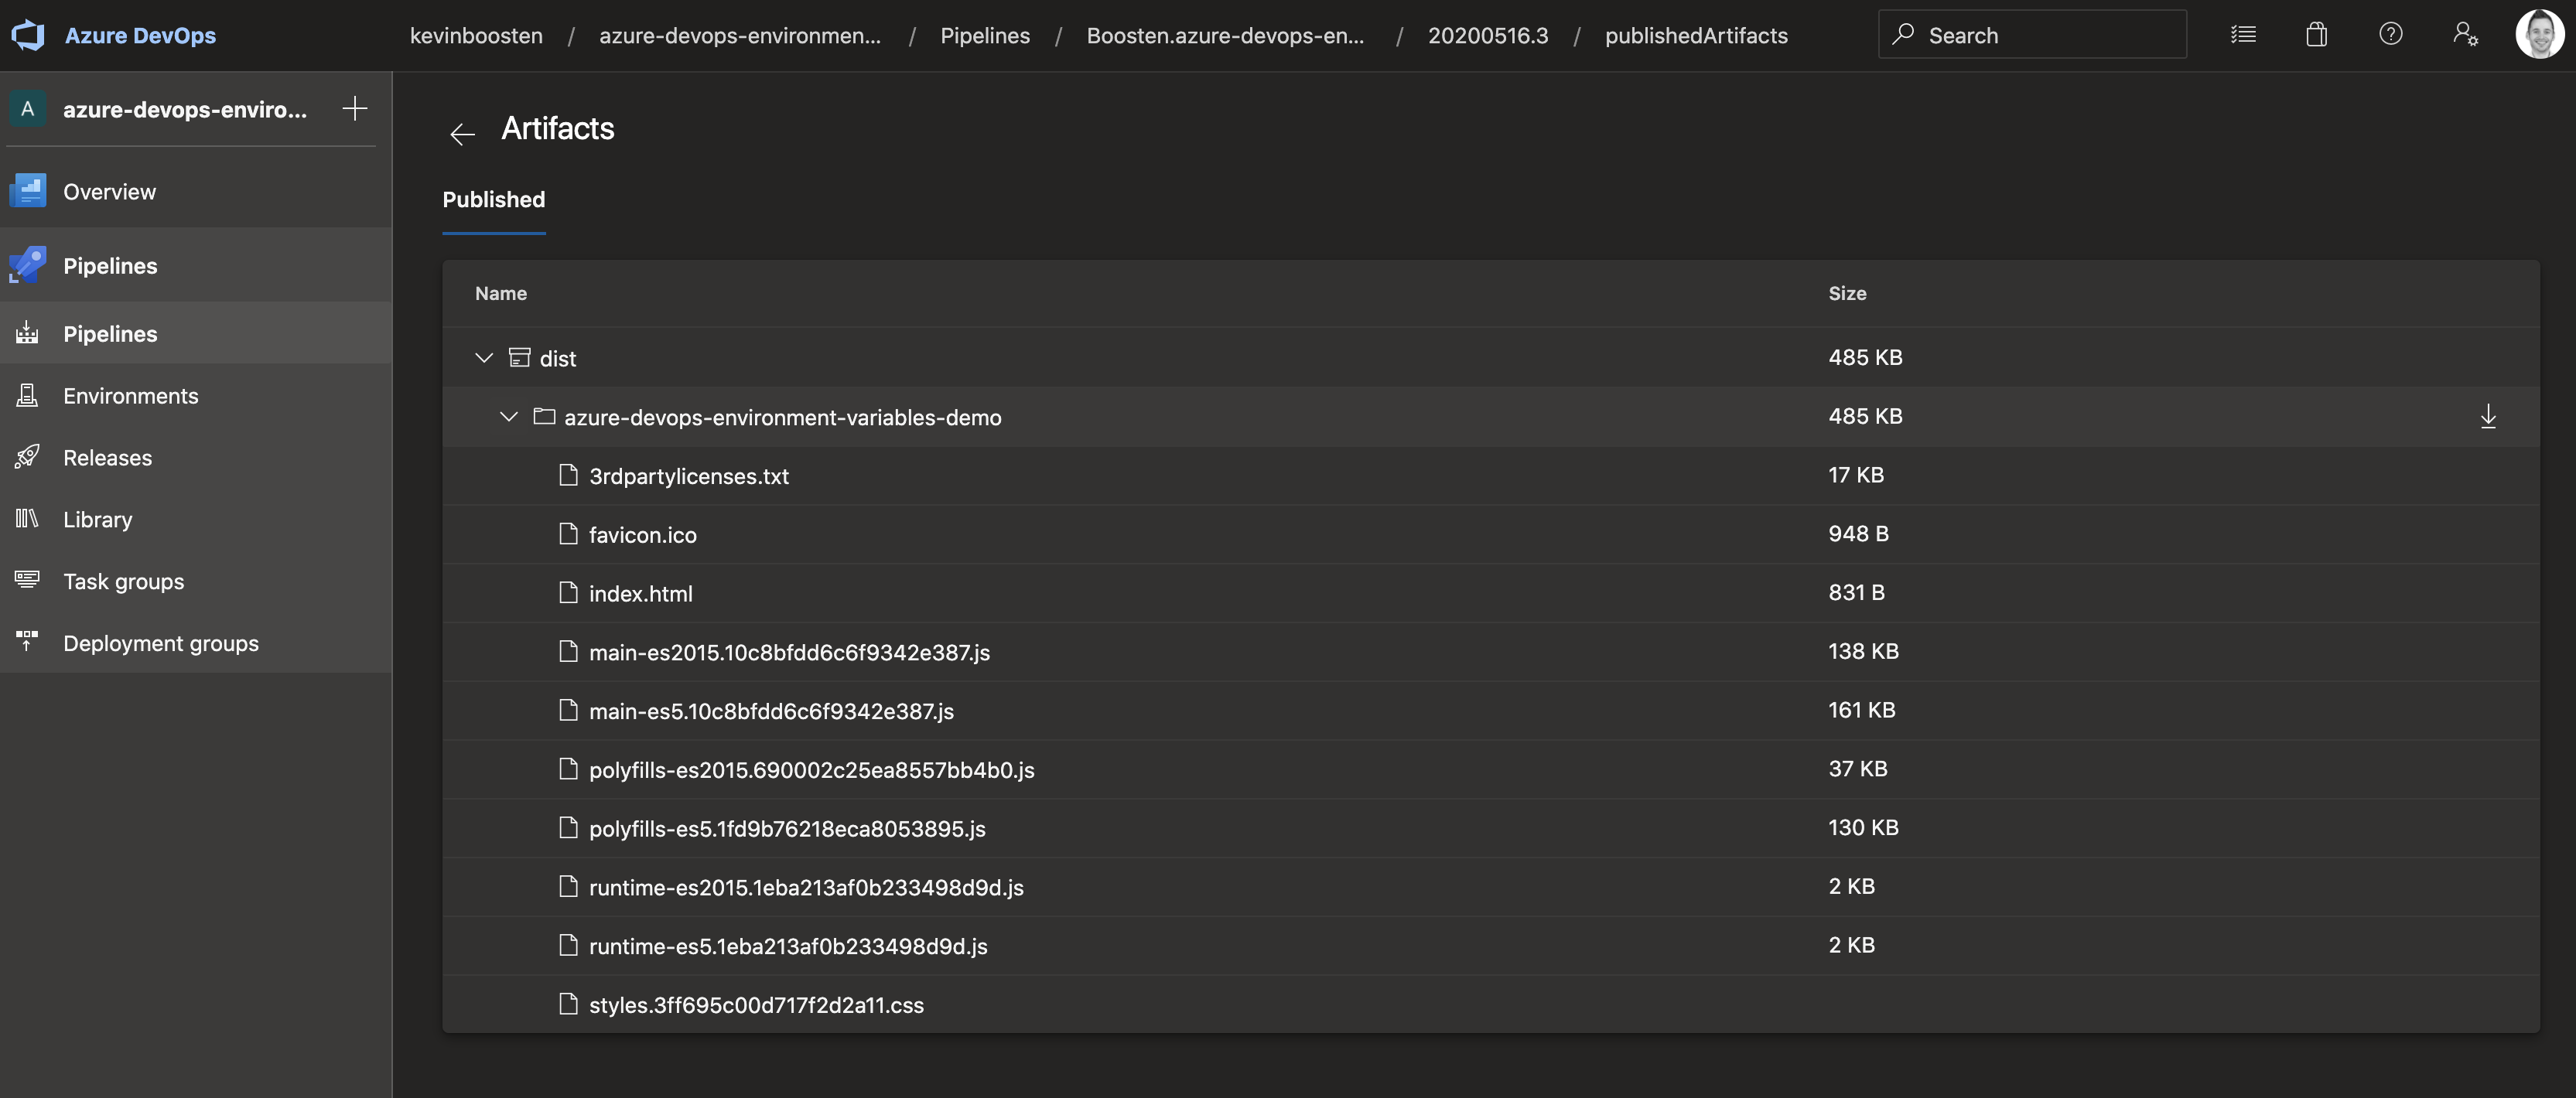
Commit your changes and let DevOps start a new pipeline run. After the run you can validate the output by checking the produced artifacts:

Configure deployment stages
Okay, we are now able to set up, configure and build an Angular application via Azure DevOps ✅👏. This is a great moment to grab yourself a coffee or beer, depending on what time it is 😉. Next stop: the deployment stages.
We are not going to deploy our application to a real server because that goes beyond the scope of this article. Let’s save that for a future article about deploying with ARM templates!
So, what was the actual topic of this article again🤔? When I started writing this article I wanted to focus primarily on handling environment specific settings in an Angular application with the environment.ts file. But why not add a real life example to it with some nice additions about Azure multi-stage yml releases too? So you can release your Angular application properly in Azure.
Change to deployment jobs
We are now going to change the yml file a bit to change our temporary deployment stages to real deployment jobs.
A deployment job is a special type of job. It’s a collection of steps to run sequentially against the environment. In YAML pipelines, we recommend that you put your deployment steps in a deployment job.
1
2
3
4
5
6
7
8
9
10
11
12
13
14
15
16
17
18
19
20
21
- stage: deploy_dev
  displayName: Deploy to development
  jobs:
    - deployment: DeployWeb
      environment: DEV
      strategy:
        runOnce:
          deploy:
            steps:
              - script: echo Hello, development world!

- stage: deploy_prd
  displayName: Deploy to production
  jobs:
    - deployment: DeployWeb
      environment: PRD
      strategy:
        runOnce:
          deploy:
            steps:
              - script: echo Hello, production world!
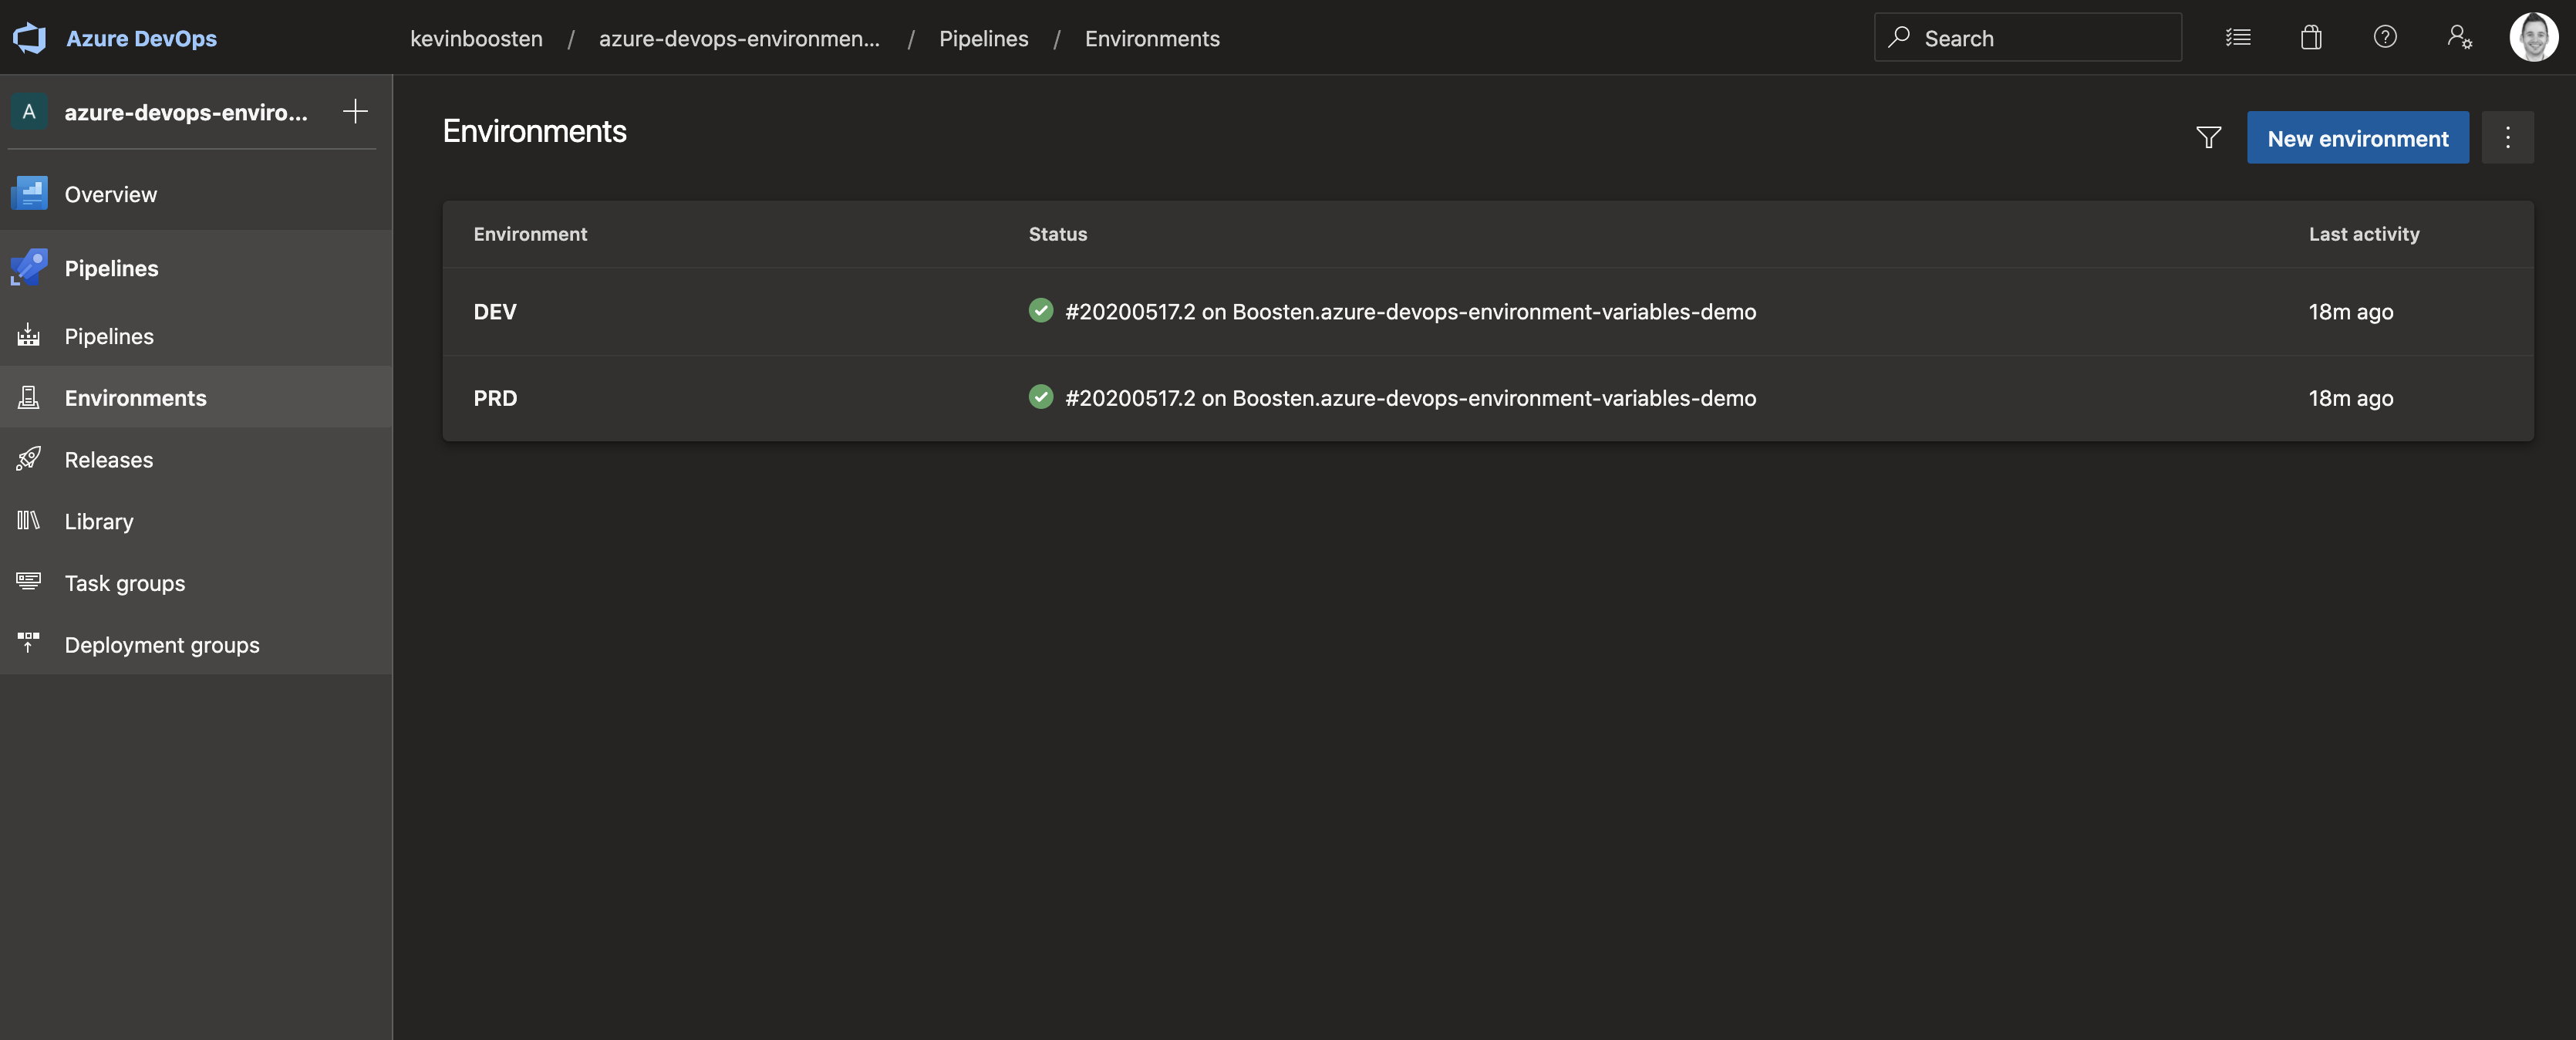
Not much changes, just following the documentation from Microsoft. Thing that you will notice is the environment setting. This is, in our case, just a label to group our deployment and see the history of our deployments. It also gives you Approval configuration. More about that later. Check this link to learn more about environments in DevOps.
You can now see your environments in the portal too:
Extend environment.ts
So, now we are getting close to our actual end goal: handling environment specific variables in a Angular application via Azure multi-stage pipelines.
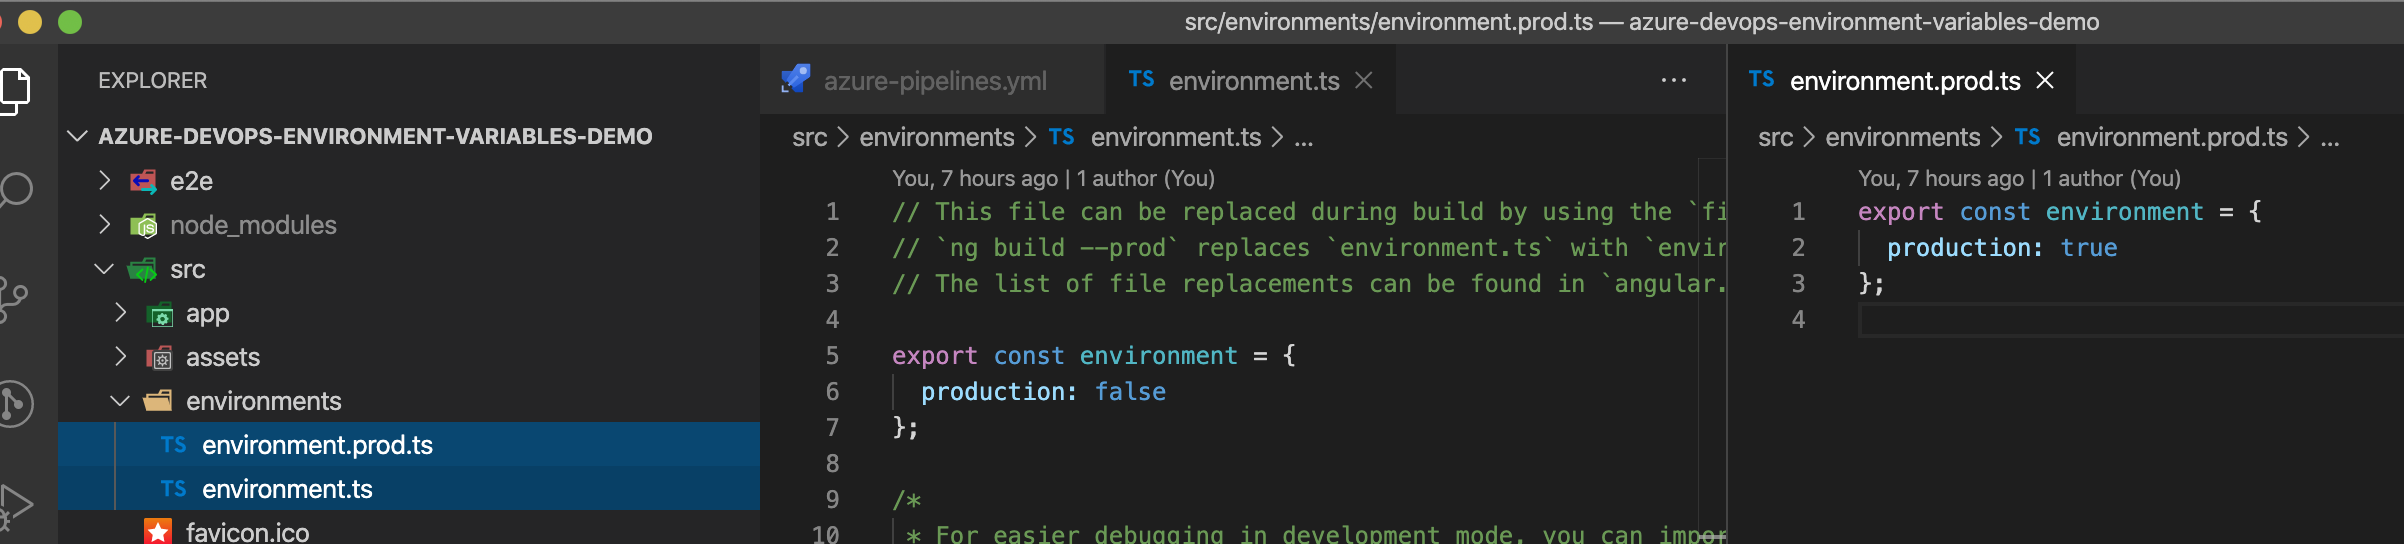
At this moment our environment.ts and environment.prod.ts files don’t contain anything environment specific. Let’s add some dummy environment settings for the sake of this article. We pretend that we have an API that is environment specific and we’re using Auth0 as our authentication provider.
1
2
3
4
5
6
7
8
9
// environment.ts
export const environment = {
  production: false,
  auth: {
    clientID: 'my-local-clientid',
    domain: 'local.eu.auth0.com',
  },
  apiEndpoint: 'https://local.myapi.io',
};
1
2
3
4
5
6
7
8
9
// environment.prod.ts
export const environment = {
  production: true,
  auth: {
    clientID: '#{authClientID}#',
    domain: '#{authDomain}#',
  },
  apiEndpoint: '#{apiEndpoint}#',
};
Okay Kevin, I don’t think #{authClientID}# is a valid client id. You’re completely right, of course 🙃. These are, so called, replacement tokens. And we’re going to utilize them during our deployment stages to replace the tokens with the actual values.
But first, don’t forget to commit and push your changes.
Use environment variables in your code
If we do not use these variables in our code, tree shaking will remove the code from the build. So that would not be very useful for this tutorial.
So add this line of code to your app.component.ts file:
1
2
3
4
5
6
7
8
@Component({
  selector: 'app-root',
  templateUrl: './app.component.html',
  styleUrls: ['./app.component.css'],
})
export class AppComponent {
  title = `is production: ${environment.production}, auth: ${environment.auth.clientID} - ${environment.auth.domain}, api: ${environment.apiEndpoint}`;
}
Add Azure DevOps extension
We now know that we want these tokens to be replaced by the actual values. You could roll your own script to accomplish this, but we’re going to use an extension for this. This extension needs to be installed on organization level, so it could be possible that you need to request this extension to your organization owner. The extension we’re going to install is called Replace Tokens from Guillaume Rouchon.
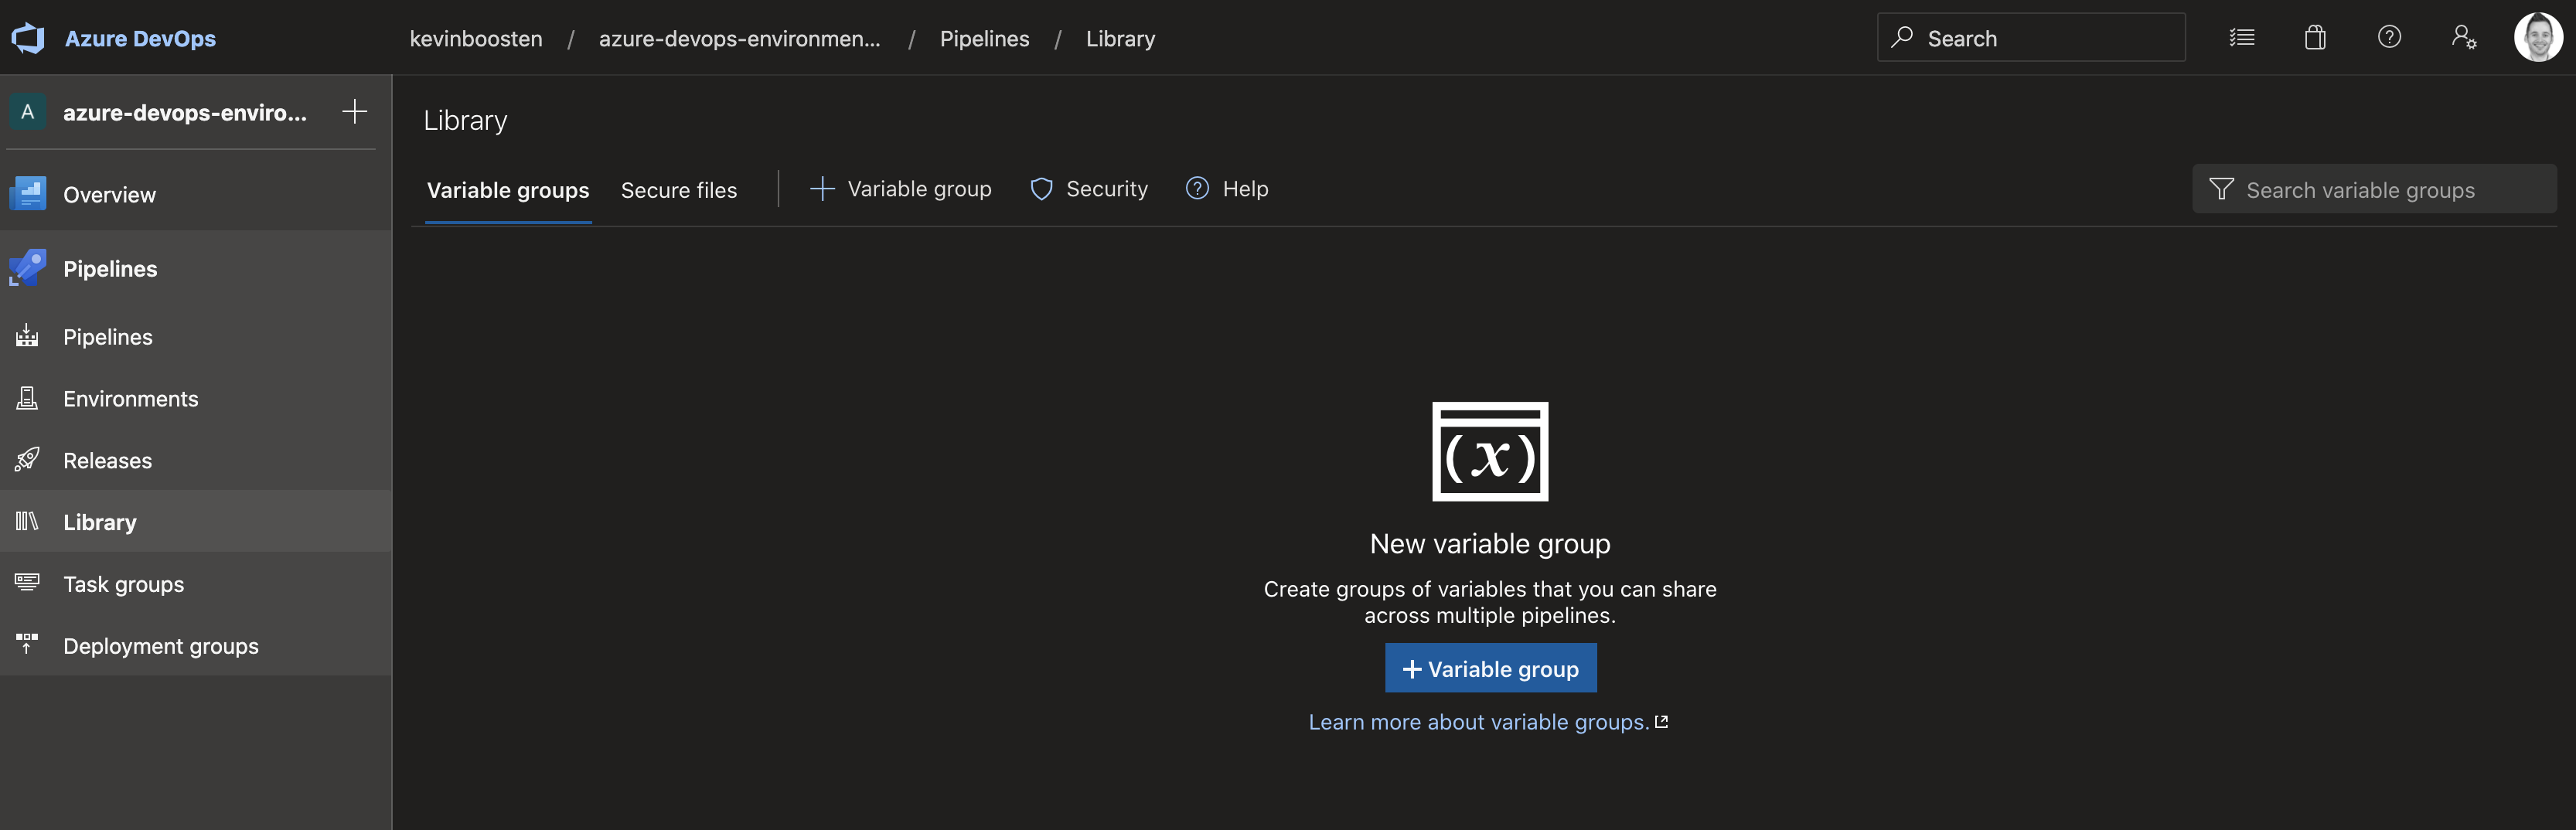
Add variable groups
With our extension in place, it’s time to add the actual variables that will be used to substitute the tokens. Navigate to the Library section to create two variable groups that contain variables for our two environments: DEV and PRD.
- Variable groups overview
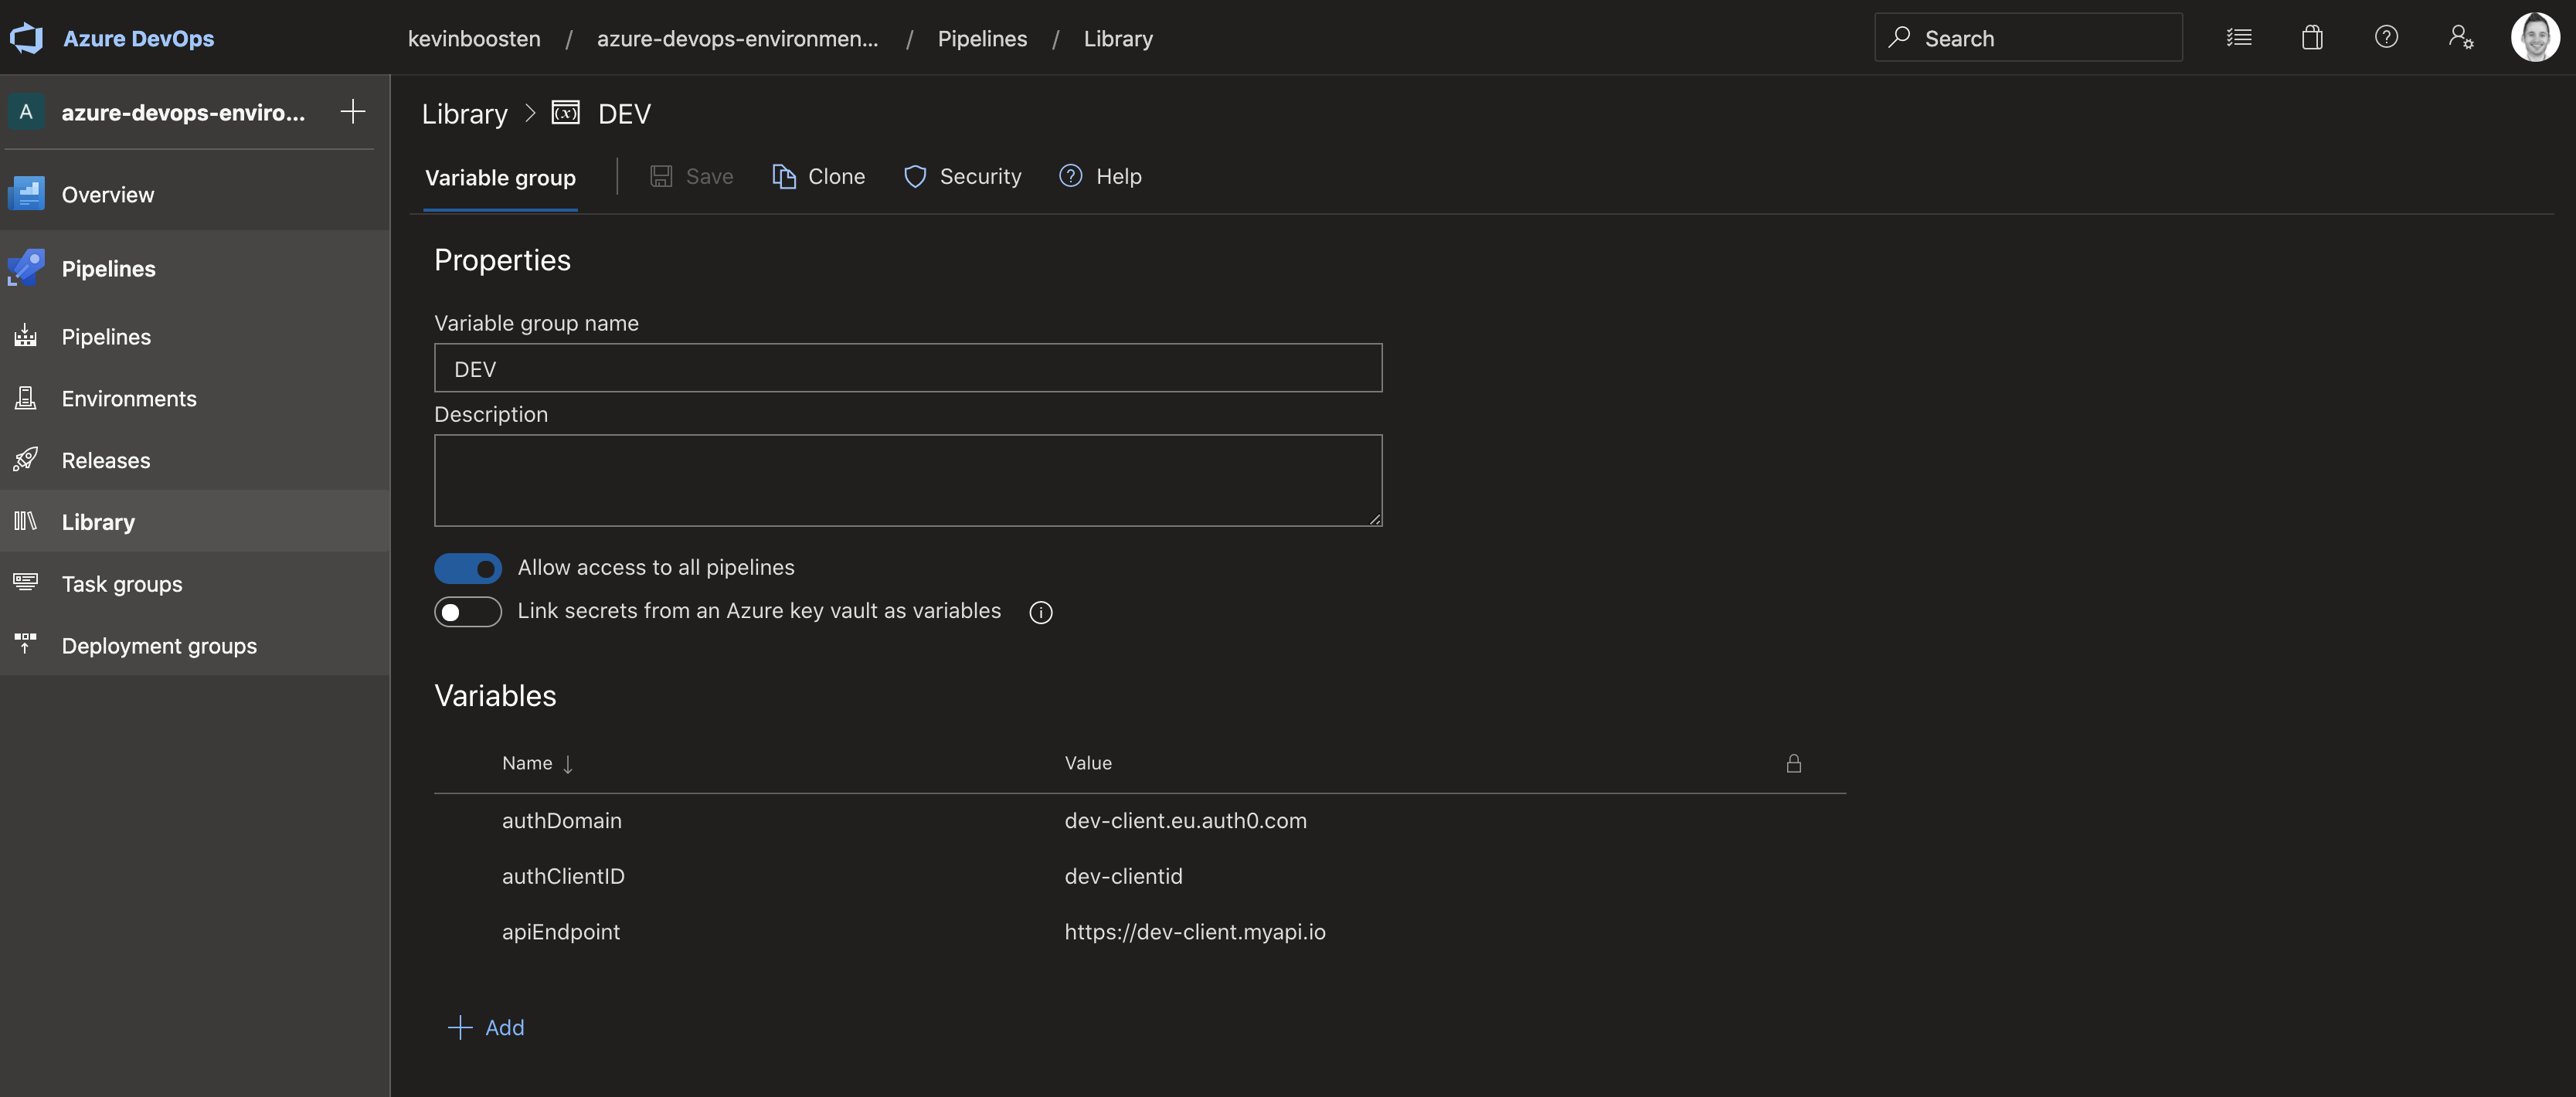
- Add the variables for DEV
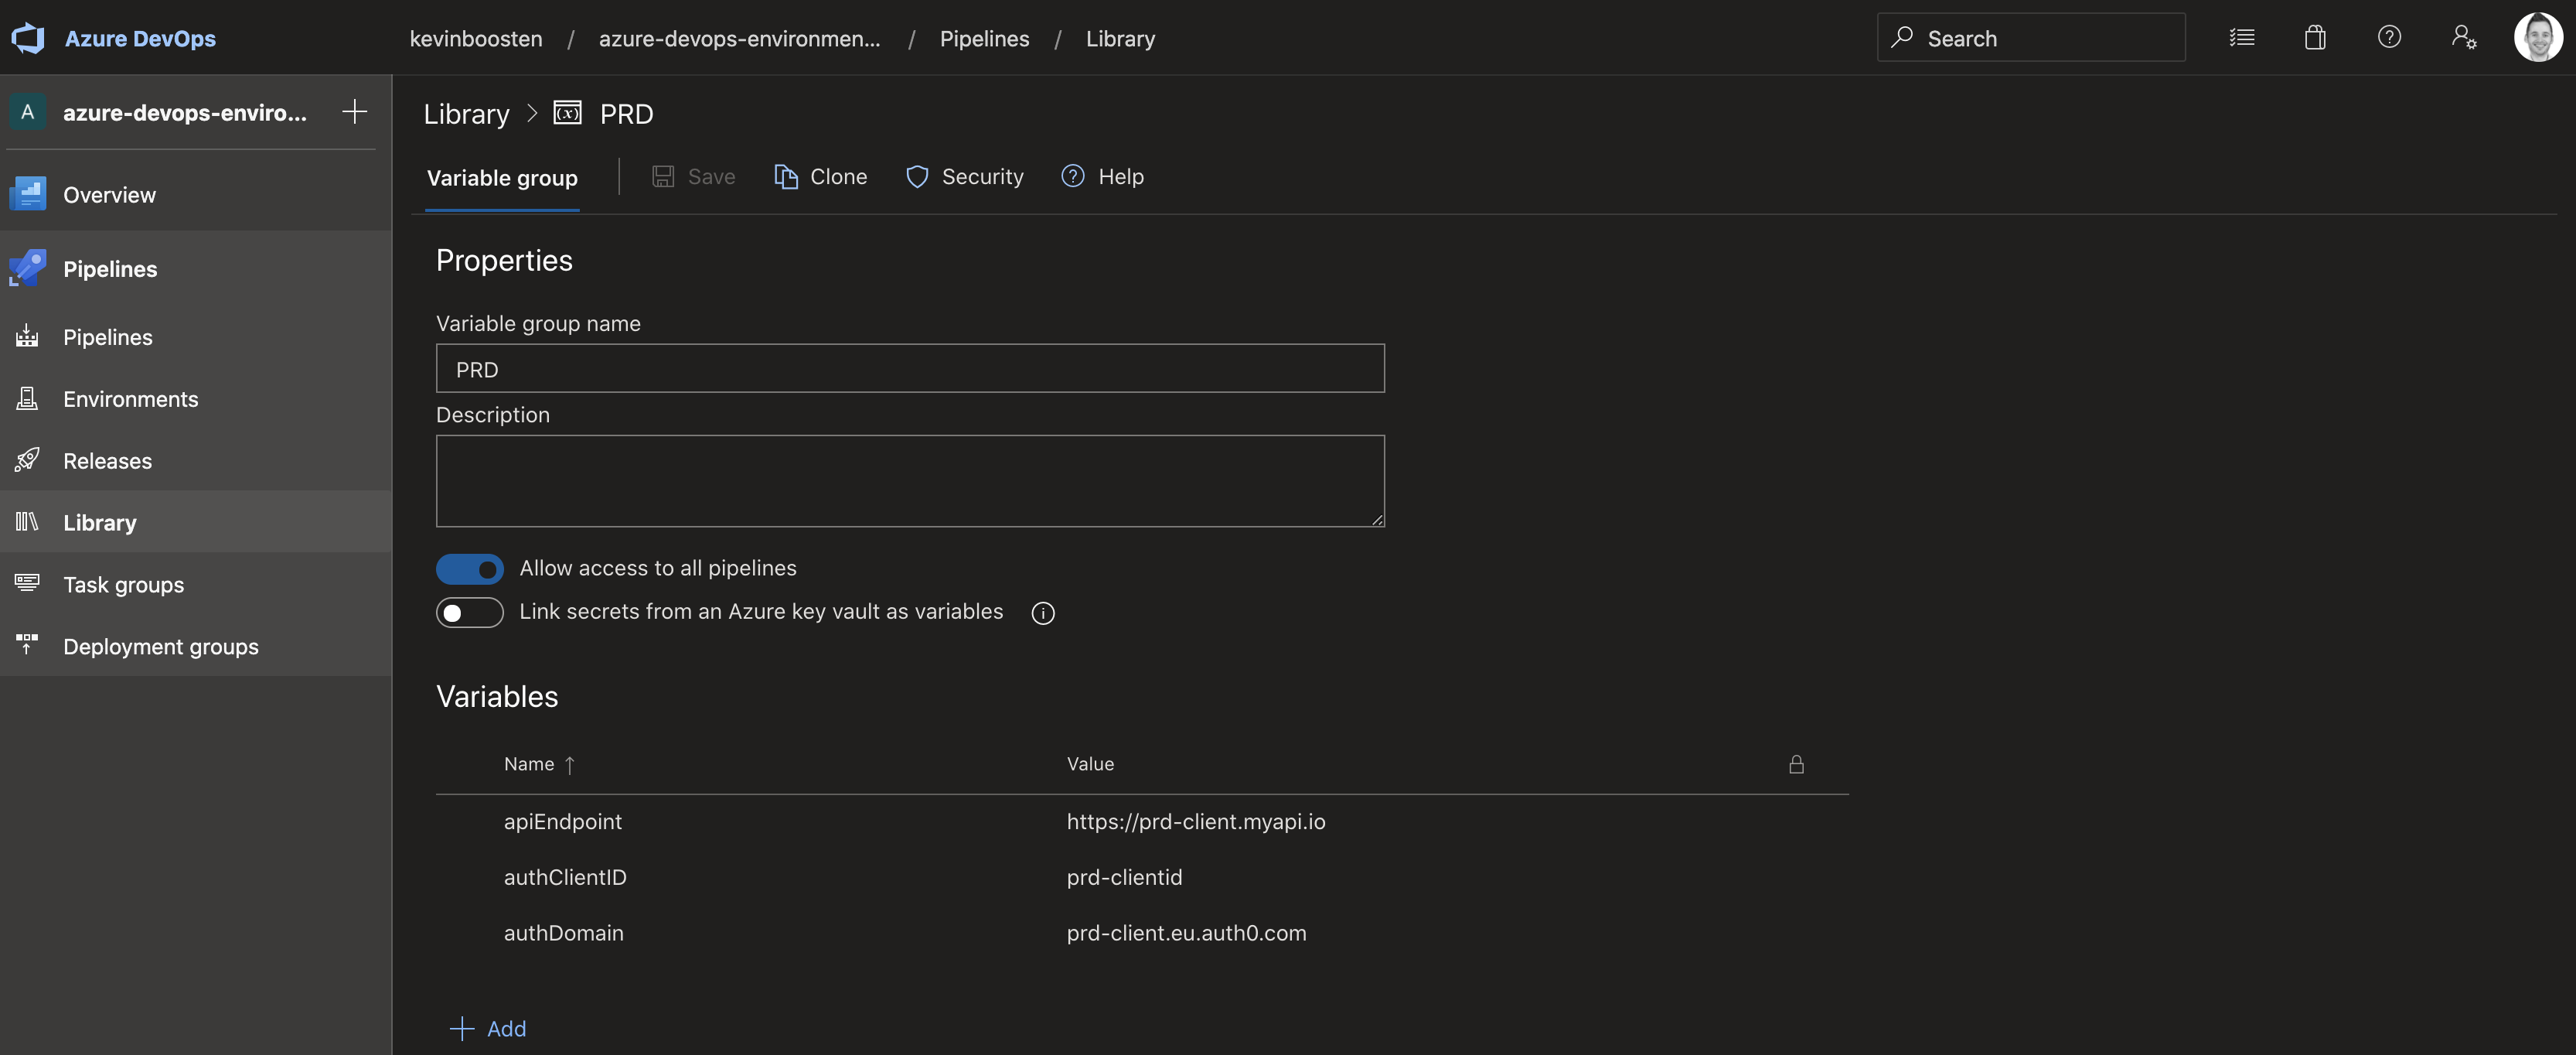
- Add the variables for PRD (clone your previous variable group and replace values)
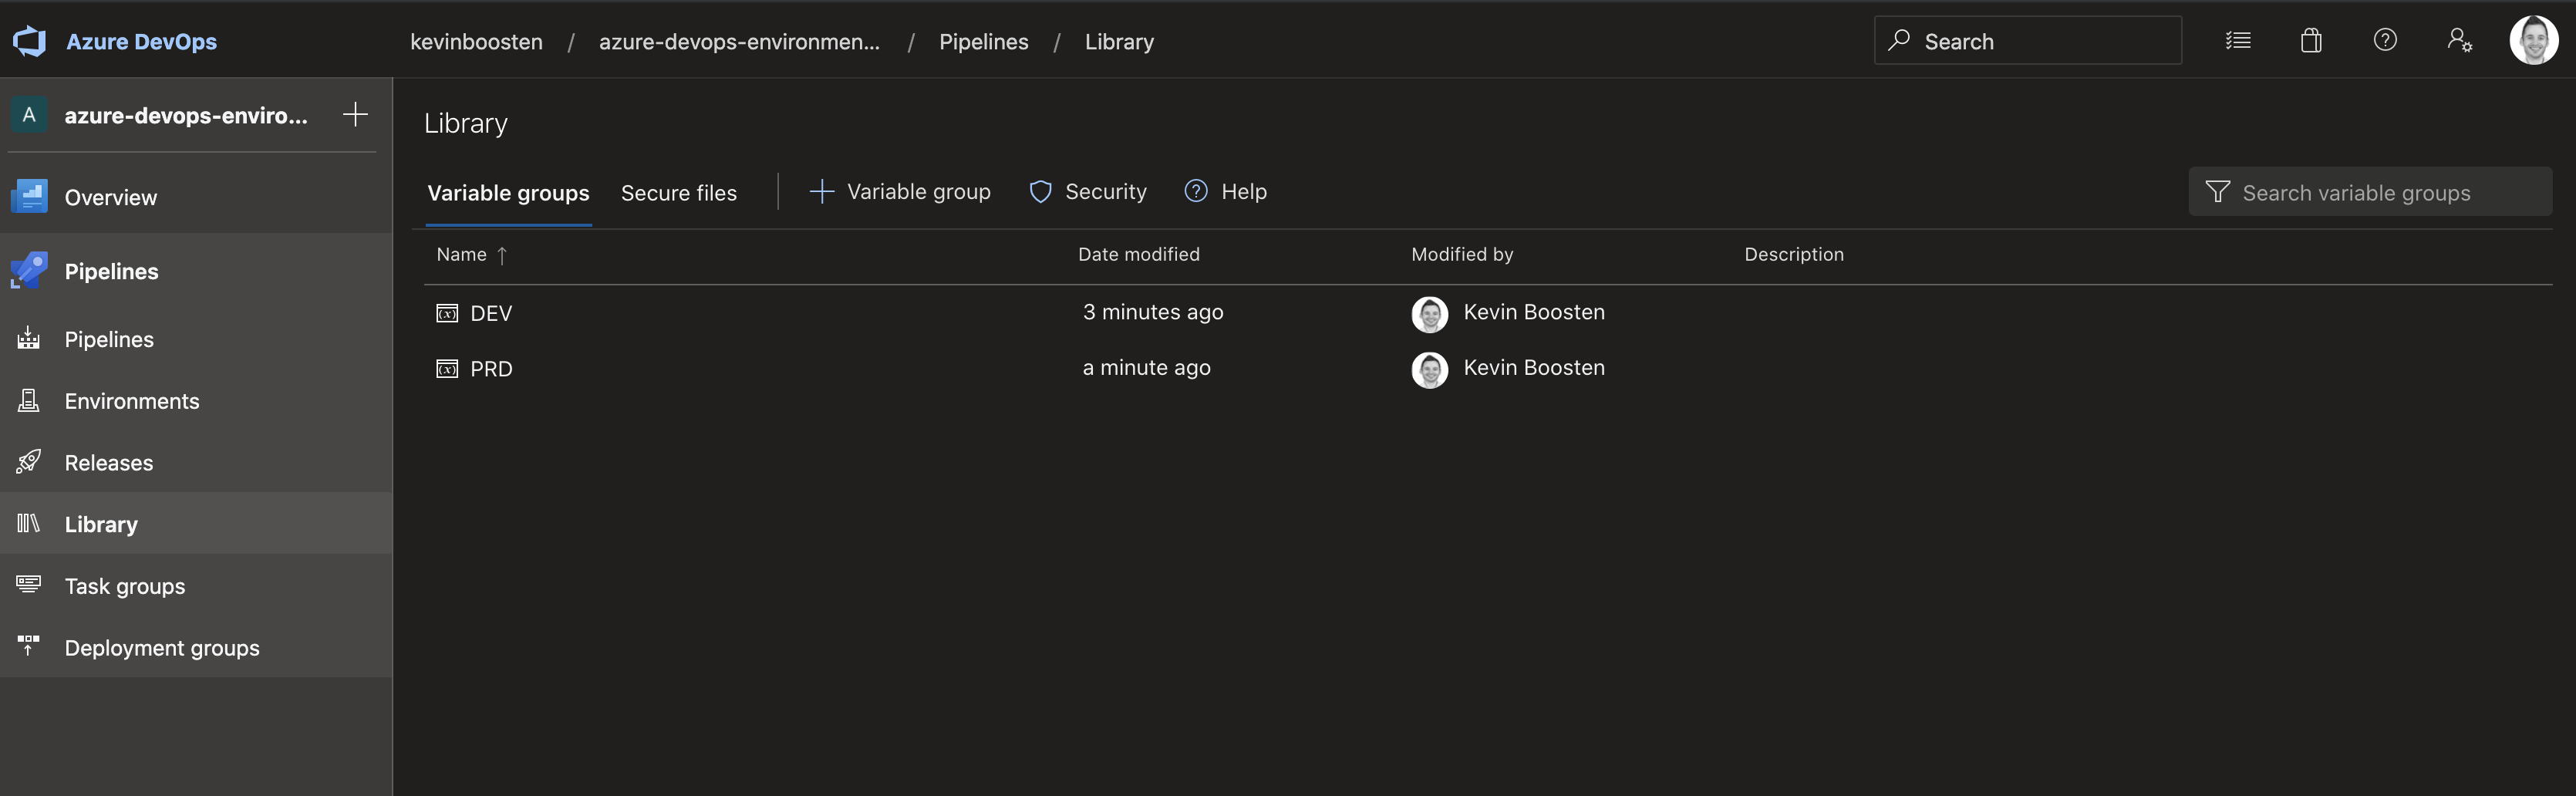
- Eventually, you should now have two groups
Reference your variable groups in your pipeline
We can now use these variables groups in our yml pipeline. Add the variables property to each deployment stage below the displayname property:
1
2
3
4
5
6
7
8
9
10
11
12
13
- stage: deploy_dev
  displayName: Deploy to development
  variables:
    - group: DEV
  jobs:
    ...

  - stage: deploy_prd
    displayName: Deploy to production
    variables:
      - group: PRD
    jobs:
     ...
Add Replace token task
- Extensions installed ✅
- Variable groups created ✅
- Variable groups referenced in yml ✅
Now add the replace tokens extension as step to each deployment stage. Make sure you configure the value of targetFiles properly. What we’re doing here is changing all occurrences of our replacement tokens in the main*.js files. So that would include the main-es5.*.js and main-es2015.*.js file.
1
2
3
4
5
6
7
8
9
10
11
12
13
14
15
16
17
18
19
20
21
22
23
24
25
26
27
28
29
30
31
32
33
34
35
36
37
38
39
40
41
42
43
44
45
46
47
48
49
- stage: deploy_dev
  displayName: Deploy to development
  variables:
    - group: DEV
  jobs:
    - deployment: deploy
      environment: DEV
      strategy:
        runOnce:
          deploy:
            steps:
              - script: echo Hello, development world!
              - task: replacetokens@3
                inputs:
                  targetFiles: '$(Pipeline.Workspace)/dist/**/main*.js'
                  encoding: 'auto'
                  writeBOM: true
                  verbosity: 'detailed'
                  actionOnMissing: 'warn'
                  keepToken: false
                  tokenPrefix: '#{'
                  tokenSuffix: '}#'
                  useLegacyPattern: false
                  enableTelemetry: true

- stage: deploy_prd
  displayName: Deploy to production
  variables:
    - group: PRD
  jobs:
    - deployment: deploy
      environment: PRD
      strategy:
        runOnce:
          deploy:
            steps:
              - script: echo Hello, production world!
              - task: replacetokens@3
                inputs:
                  targetFiles: '$(Pipeline.Workspace)/dist/**/main*.js'
                  encoding: 'auto'
                  writeBOM: true
                  verbosity: 'detailed'
                  actionOnMissing: 'warn'
                  keepToken: false
                  tokenPrefix: '#{'
                  tokenSuffix: '}#'
                  useLegacyPattern: false
                  enableTelemetry: true
Now let’s run this pipeline by committing and pushing your changes 🚀!
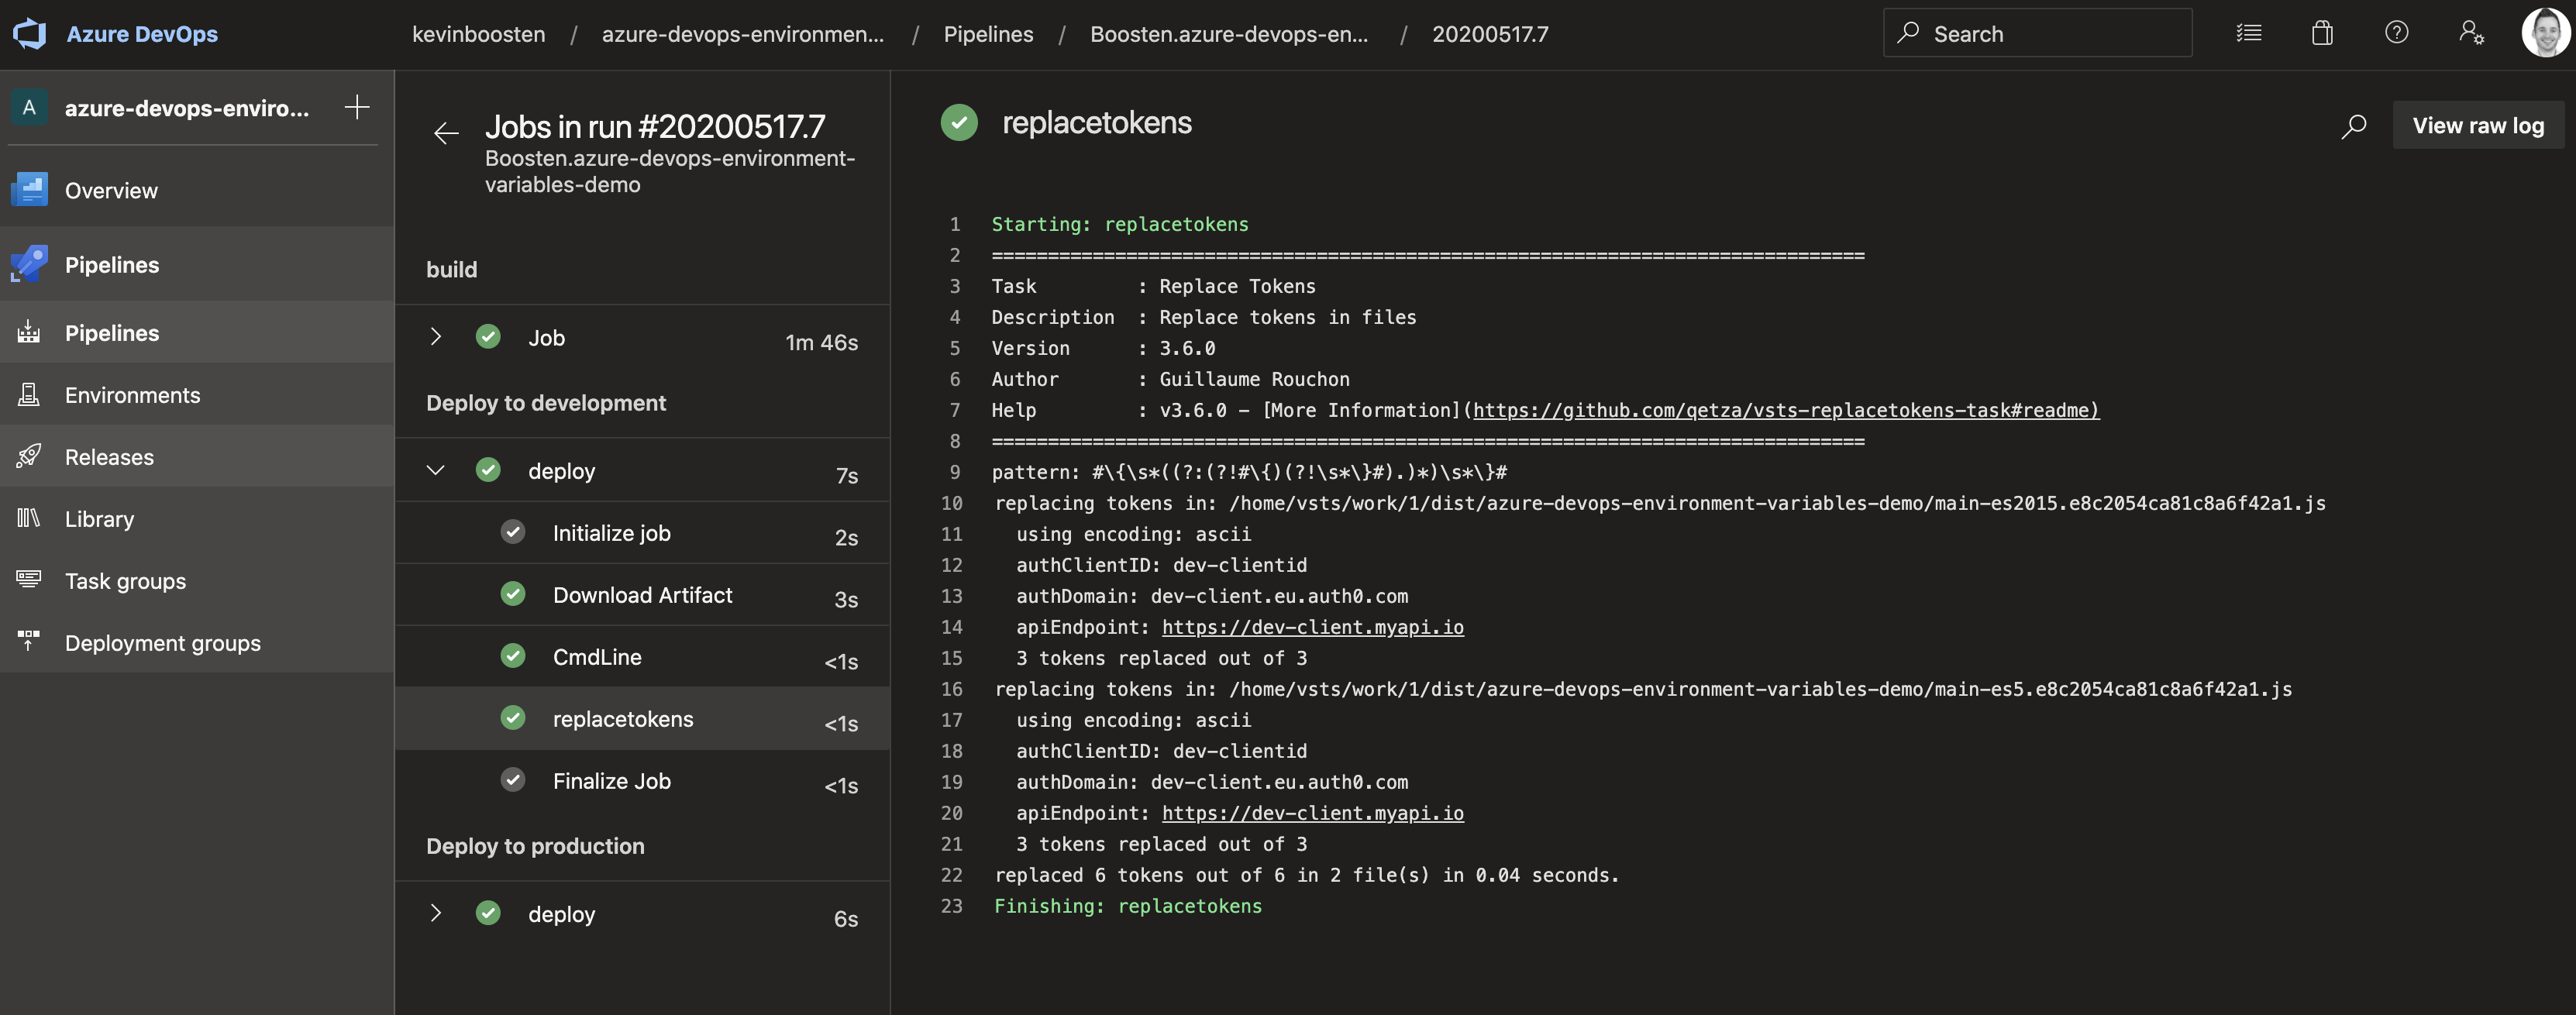
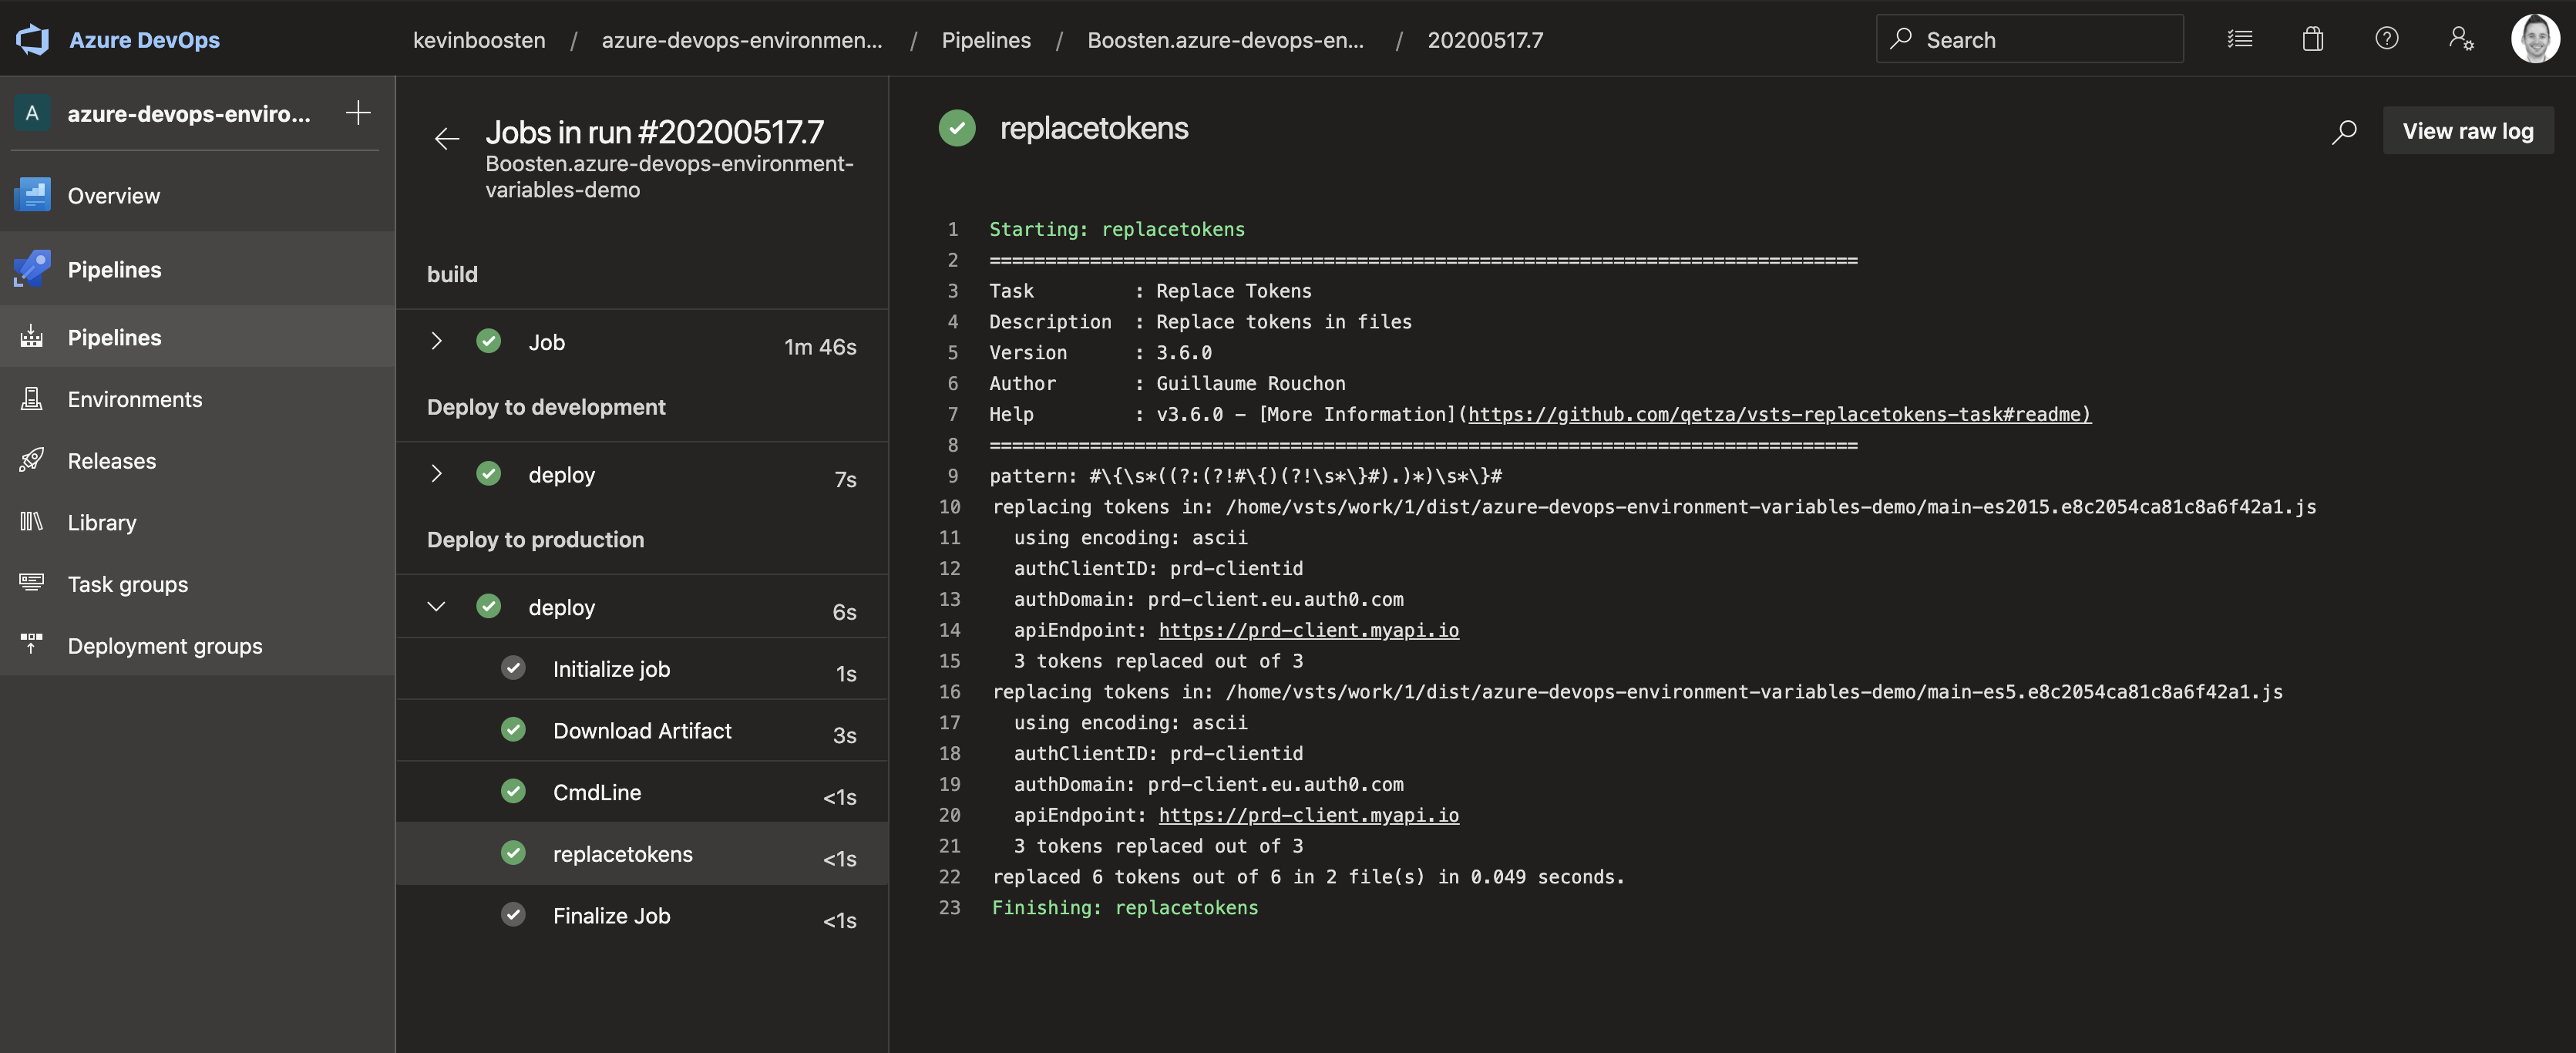
Because we’re not deploying our code to a working environment, we can’t verify if the replacement action actually worked…What we can do is check the logging. So open the last run in the DevOps portal and click on the replacetokens job to see: 3 tokens replaced out of 3
- DEV
- PROD
Bonus: add dependsOn and conditions
As you can see, your pipeline will sequentially run all stages. But you want to make sure that your production deployment will only be executed in certain conditions.
We can make use of dependsOn and conditions to restrict the execution a bit. Add these properties to your deployment stages:
1
2
3
4
5
6
....
displayName: Deploy to development
dependsOn:
  - build
condition: and(succeeded(), eq(variables['Build.SourceBranch'], 'refs/heads/master'))
....
1
2
3
4
5
6
7
8

....
displayName: Deploy to production
dependsOn:
  - build
  - deploy_dev
condition: and(succeeded(), eq(variables['Build.SourceBranch'], 'refs/heads/master'))
....
Our stages do now depend on the build and/or deploy_dev stage and so will only run when that stage succeeds. Also we introduced the condition that the git branch should be equal to master.
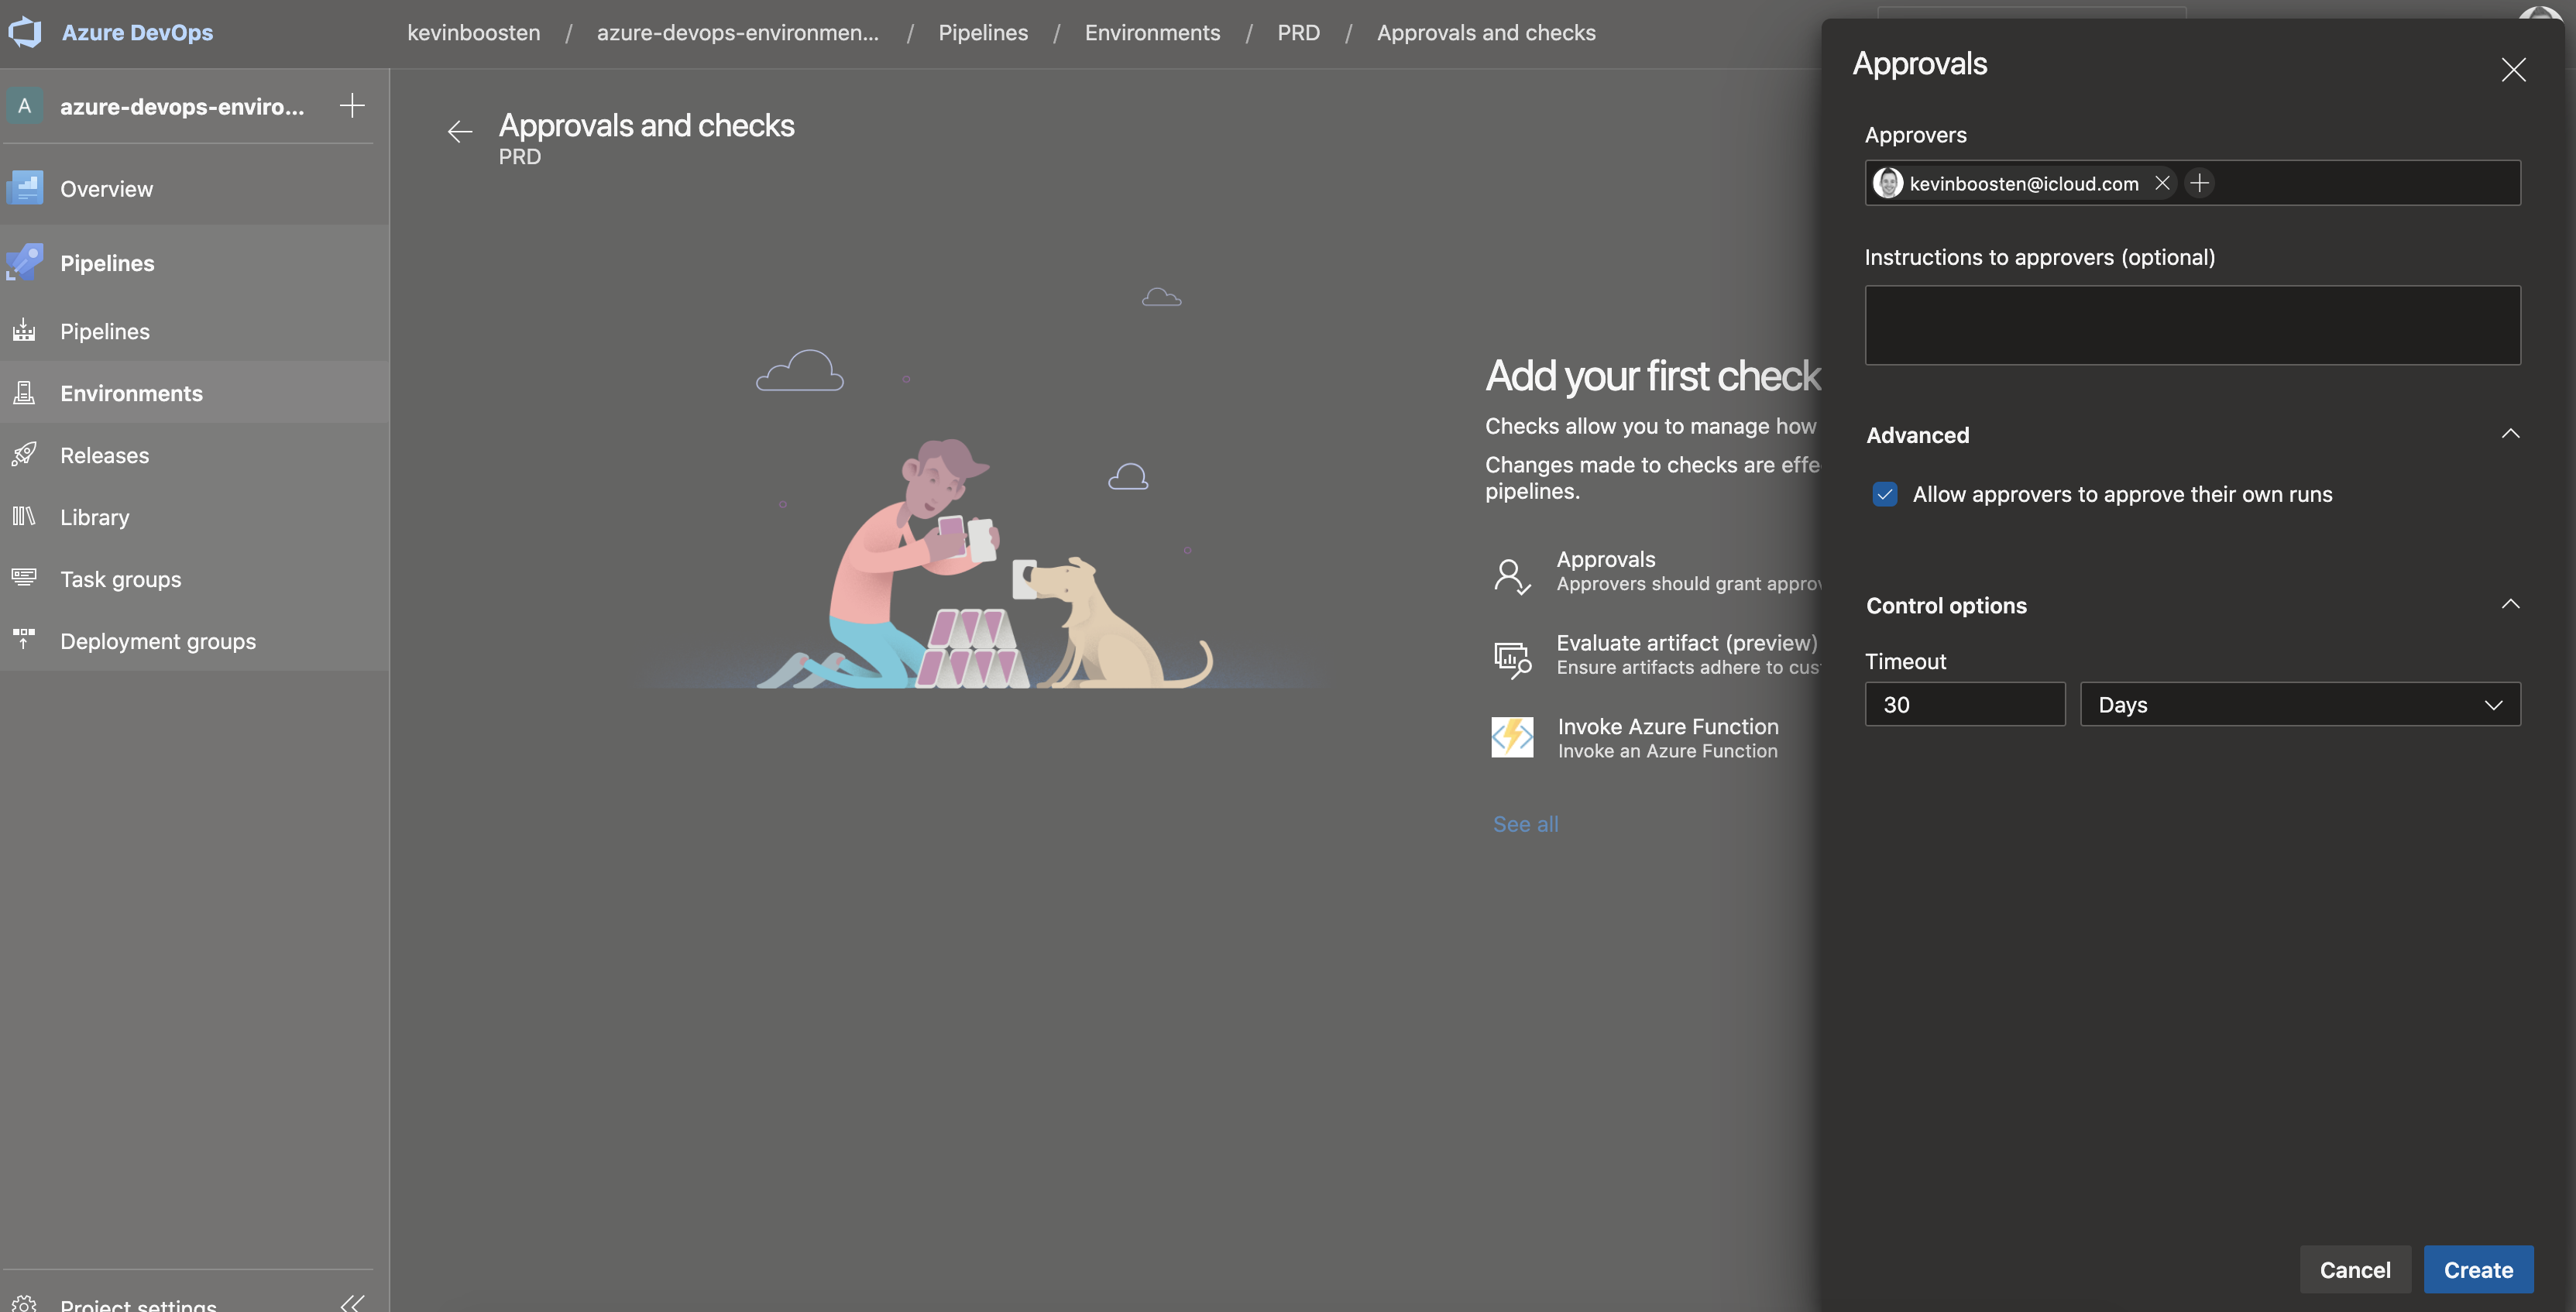
This gives you a bit more control about your pipeline. You can even introduce manual intervention by configuring an Approval step on the specific environment:
Conclusion
Building and deploying Angular applications doesn’t need to be very complex if we’re talking about environments. I showed you how to utilize the Angular environment files properly in a Azure DevOps multi-stage yml release pipeline without the need to rebuild the application for every environment. And we did not introduce any extra start up complexity to our application. So no need to load our app configuration via the APP_INITIALIZER and delaying the actual start up of our web app. Just use the already provided environment files properly, environment.ts for local development and environment.prod.ts for production, and you’re good to deploy with confidence!
What approach are you using at this moment?